[iOS Application Security] Jailbreak 12.4 and SSL pinning bypass
How to set up your iOS Testing Lab
Hello Everyone — Long time no see!
It’s been a long time since I published my last blog so I’ve decided to come up with a good topic since there are many questions being asked around Jailbreak and how to bypass SSL pinning. This version of the blog I’ll explain how to jailbreak iOS 12.4 and bypass SSL pinning. This will give you a decent idea on how to set up your iOS testing lab.
Surprisingly, this is the first time in 4 years a public version of iOS is Jailbreakable 12.4. In the most bizarre turn of events, you can almost do this without a computer. From iPhone 6 all the way to the iPhone 10, so without further ado, I am going to dive into the technical details and show you how to practically jailbreak your iOS without a computer.
Disclaimer
This blog post is only meant for educational purposes and security research. Please note that you might lose all the data from the device, so make sure you have backed it all up beforehand.
Unc0ver
Unc0ver v3.5.0 can jailbreak iOS 12.4 on A7-A11 devices, but A12(X) devices are still excluded at this time. Pwn20wnd also adds that while the jailbreak works on iOS 12.4, the success rate is lower than it was on previous versions of iOS.
https://www.idownloadblog.com/2019/08/18/unc0ver-jailbreak-ios-12-4/
unc0ver jailbreak for iOS 11.0–12.4. You can check to see if your device can be jailbroken using the following website: https://canijailbreak.com
JailBreaking —
Jailbreaking is generally are of two types. Jailbreaking totally depends upon the iOS version your device is using.
1. Tethered
Tethered jailbreaks require the iOS device to be connected to a computer while it is booting. If it is booted without a computer connected, it will not boot up. These kinds of jailbreaks are usually based on exploits of the Boot ROM, LLB or iBoot. While these jailbreaks are hard for Apple to patch, they are quite inconvenient to its users.
2. Untethered
Untethered jailbreaks do not need the iOS device to be connected to a computer during bootup, making them very user-friendly. Usually, the device is jailbroken once by connecting it to a computer that then exploits a vulnerability to patch the kernel.
https://promon.co/security-news/ios-jailbreak/
Jailbreaking iPhone 7 with iOS 12.4
Checking your iOS version
Settings -> General -> About
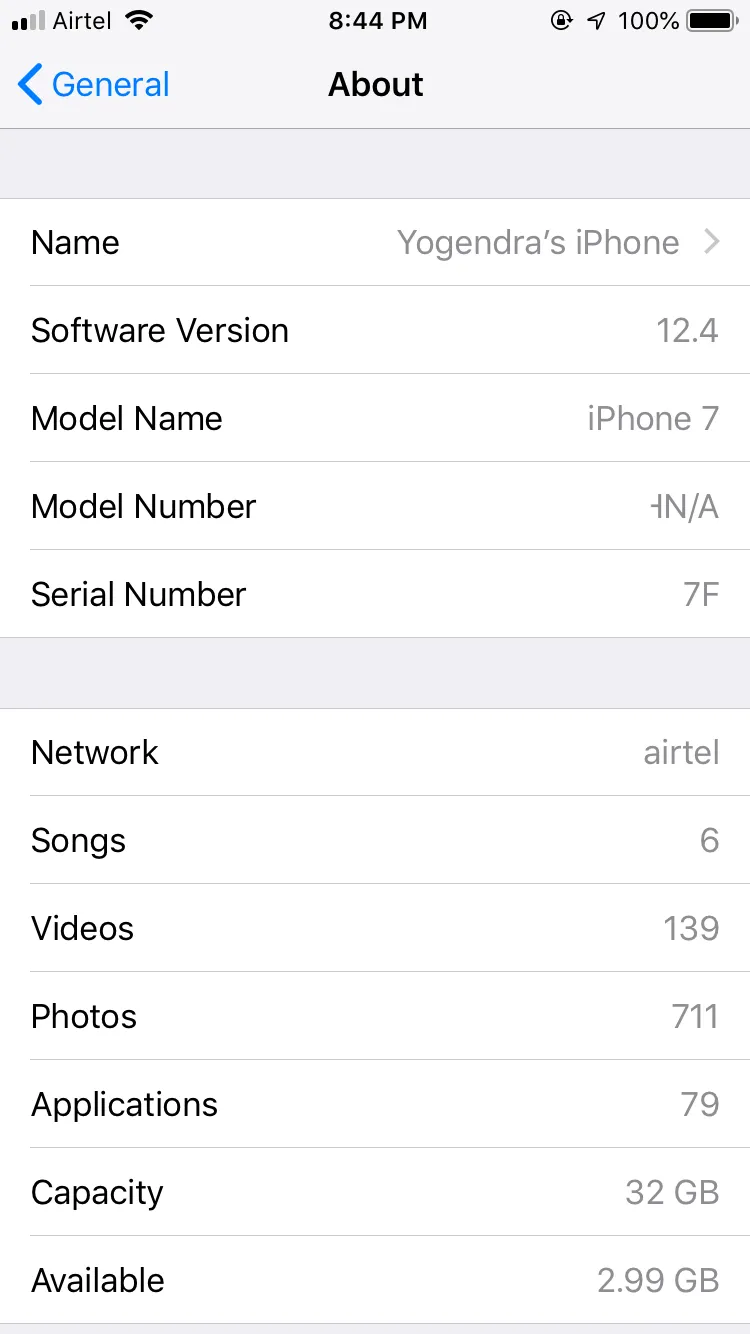
The testing environment used for jailbreaking
if your devices are compatible with Jailbreak then you should have developer’s account.
You may enroll for a developer’s account via https://developer.apple.com
Installing Cydia Impactor
Cydia Impactor is a GUI tool for working with mobile devices. It has features already but is still very much a work-in-progress. It is developed by saurik.
Downloading & Installing Cydia Impactor. (Developers Account Required)
Cydia Impactor
Note: Cydia requires your Apple ID and password so using a newly created Apple ID is highly recommended.
Download IPA from here https://github.com/pwn20wndstuff/Undecimus but please make sure you are using the latest release. As of now, v3.5.5 is the latest version.
Drag the IPA file and drop it into the impactor, then click on start.his will prompt you for the Apple ID username and password.
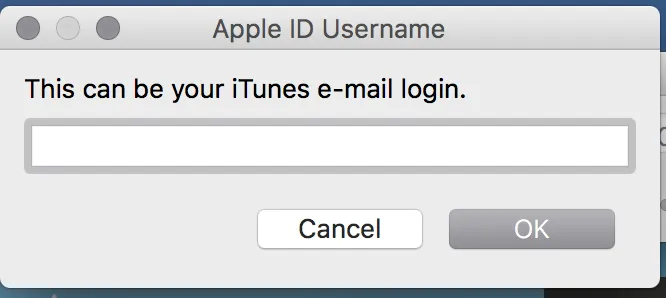
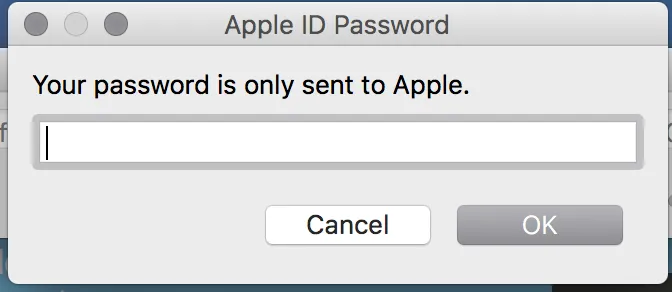
Before proceeding to jailbreak, please restart your device then activate the airplane mode.
Open unc0ver app and click on jailbreak
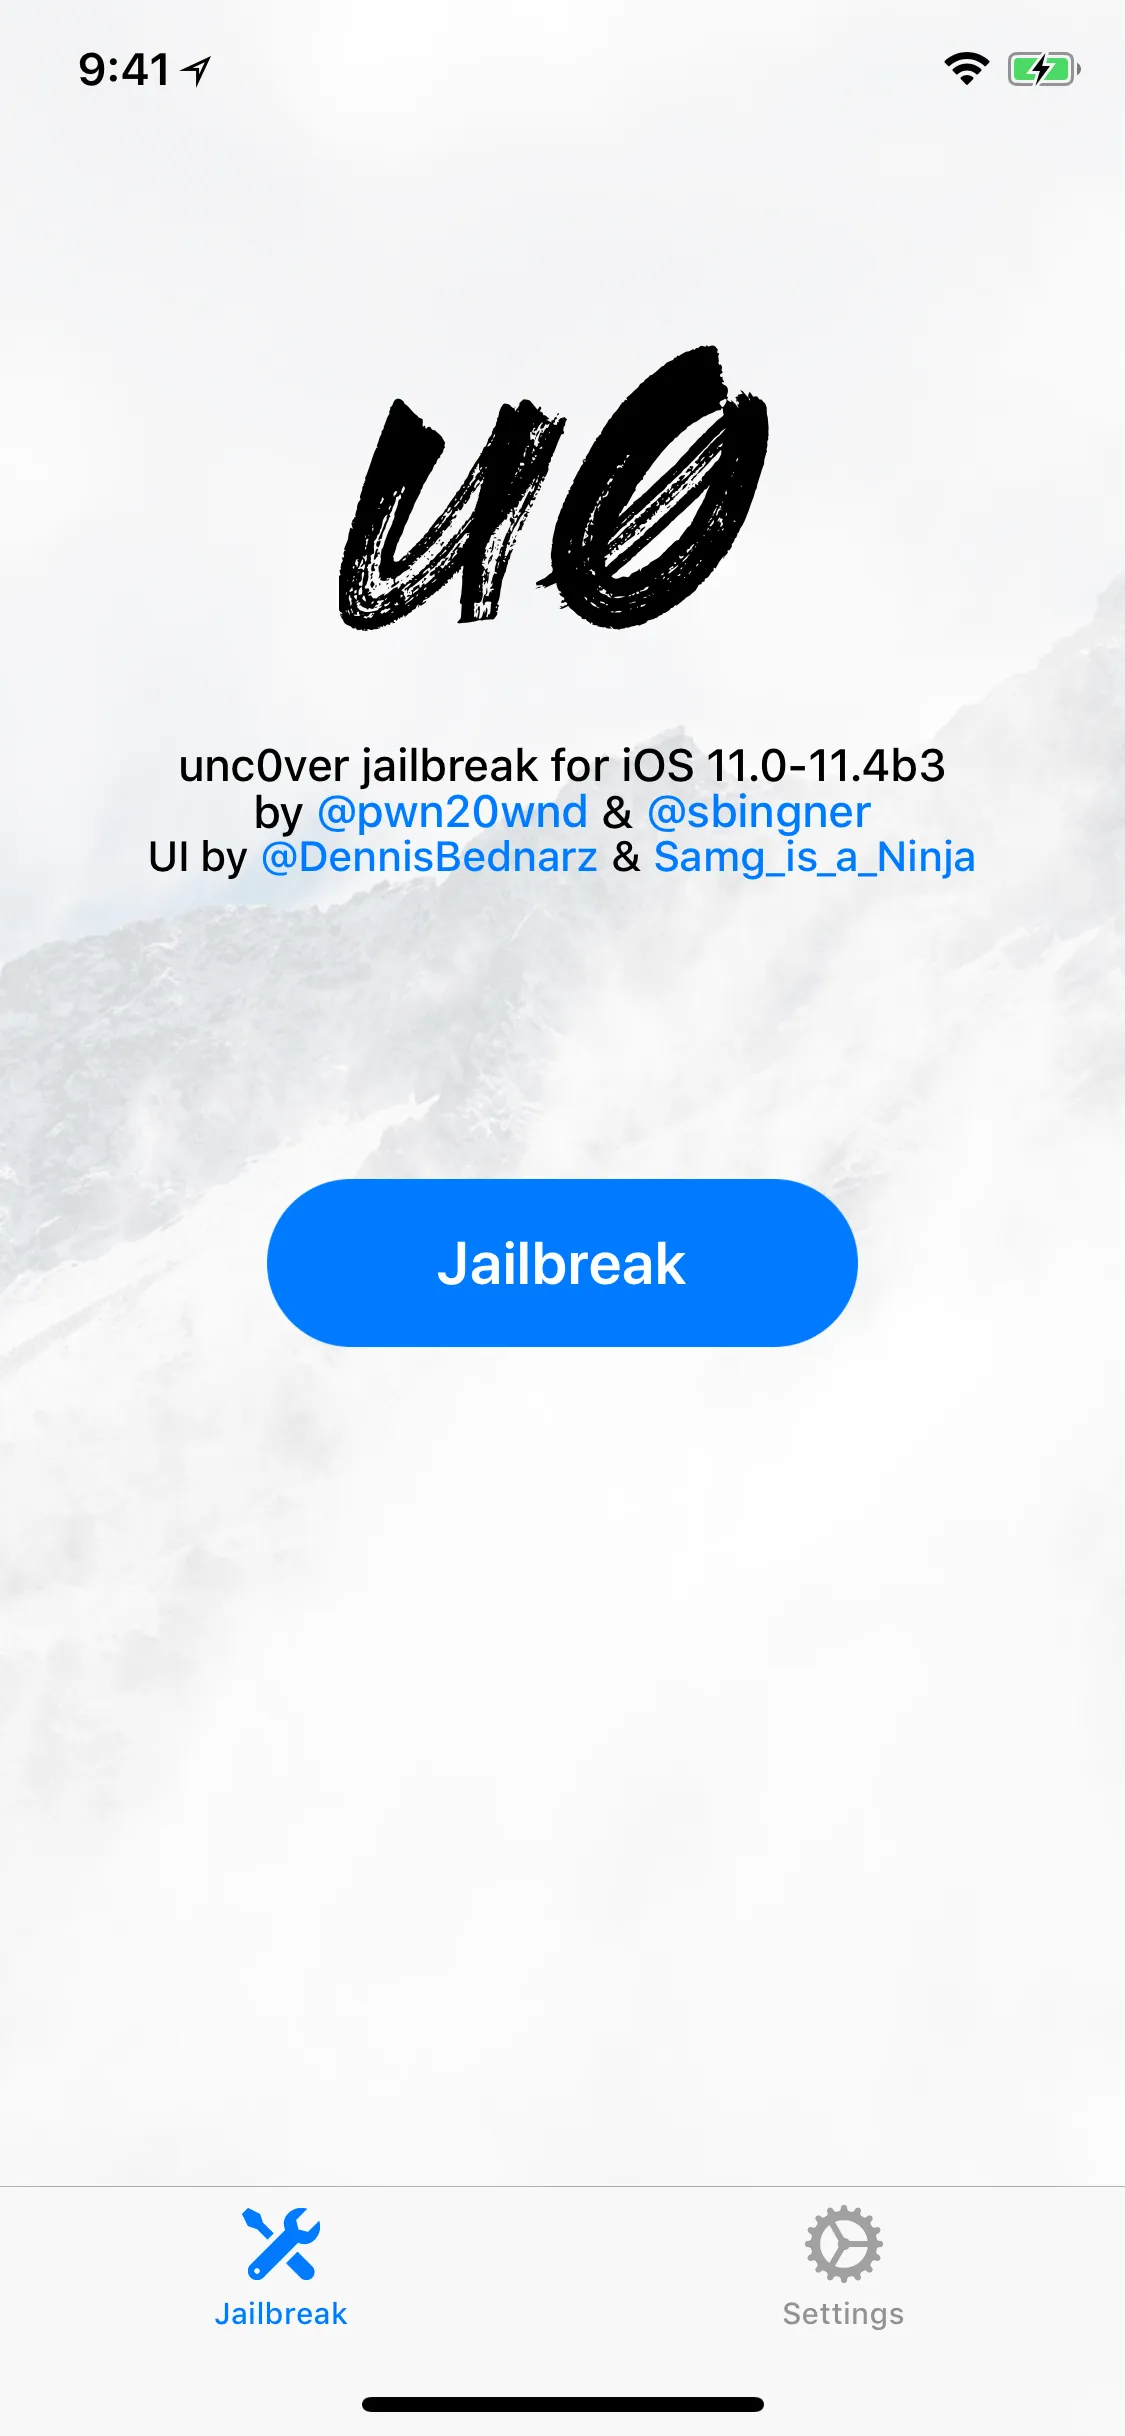
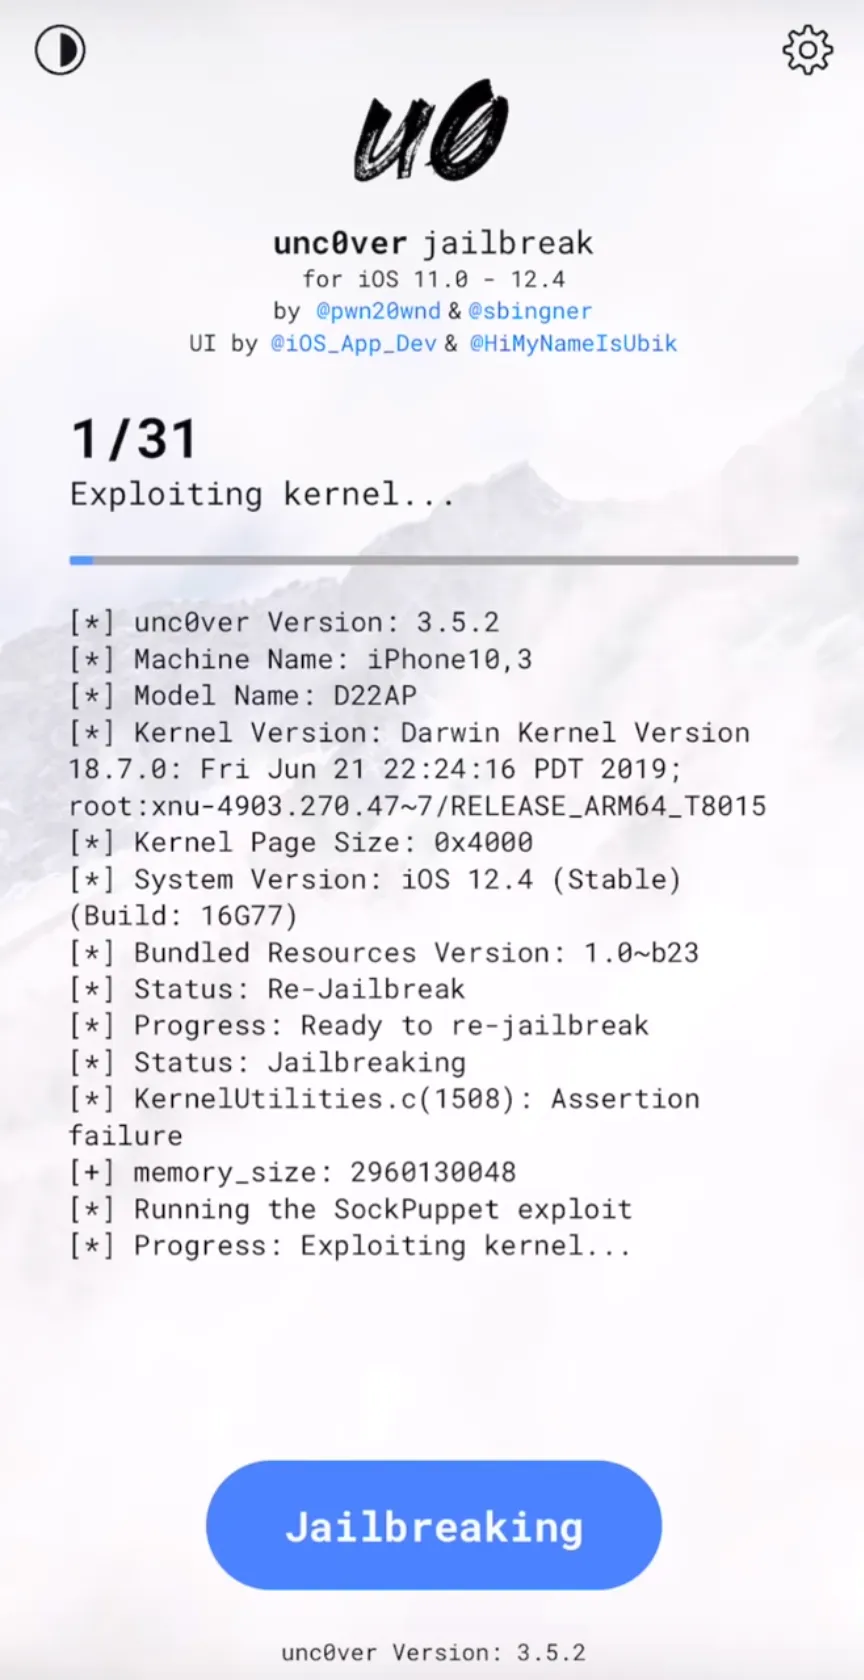
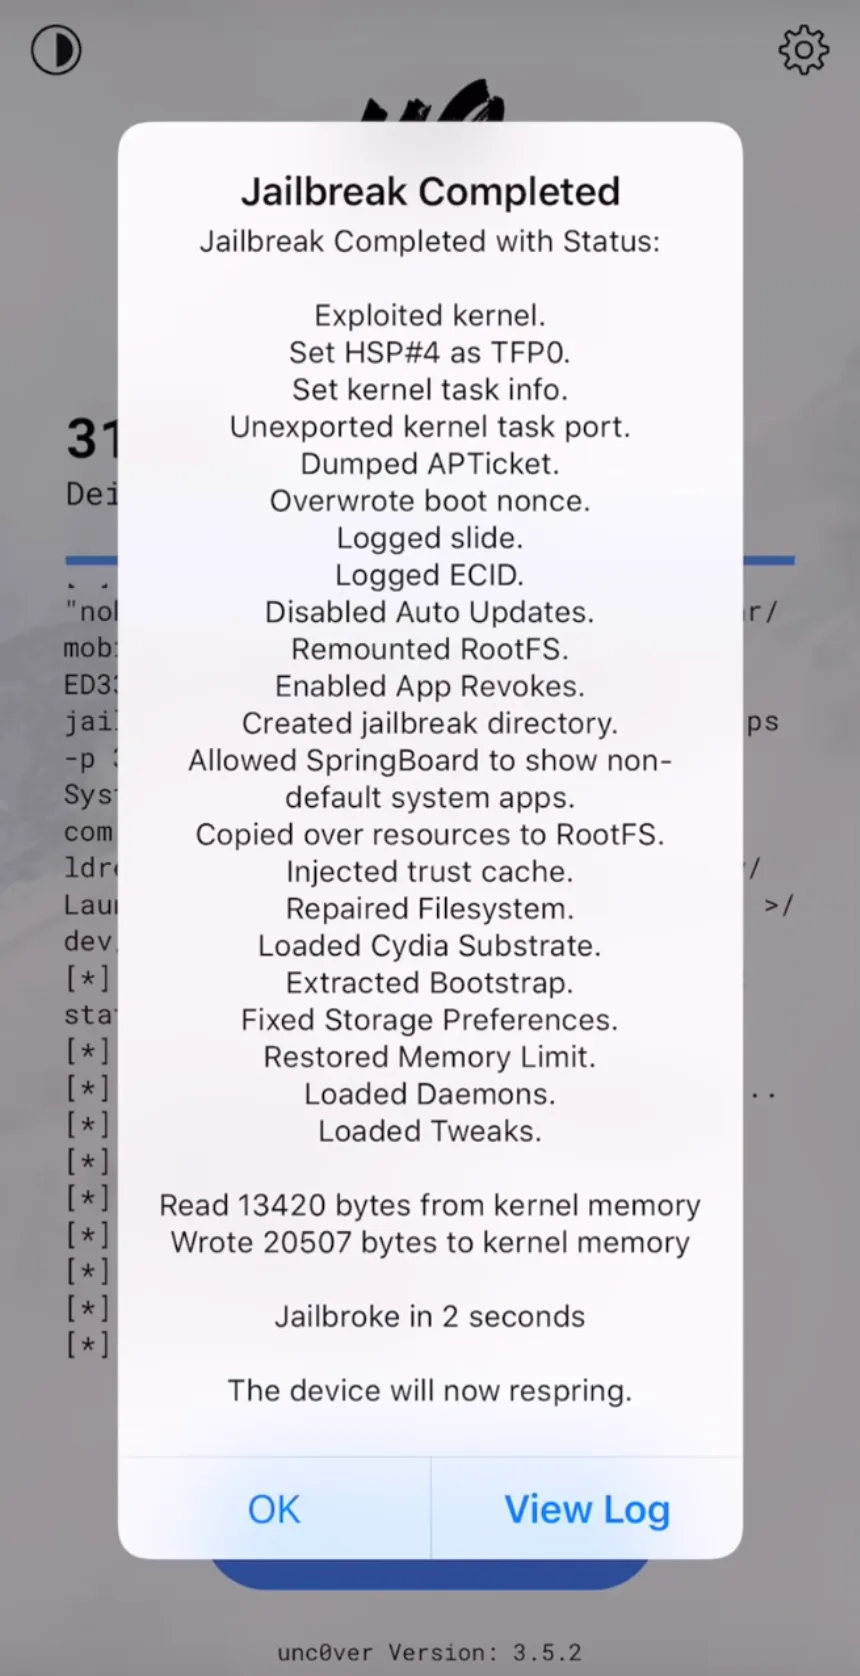
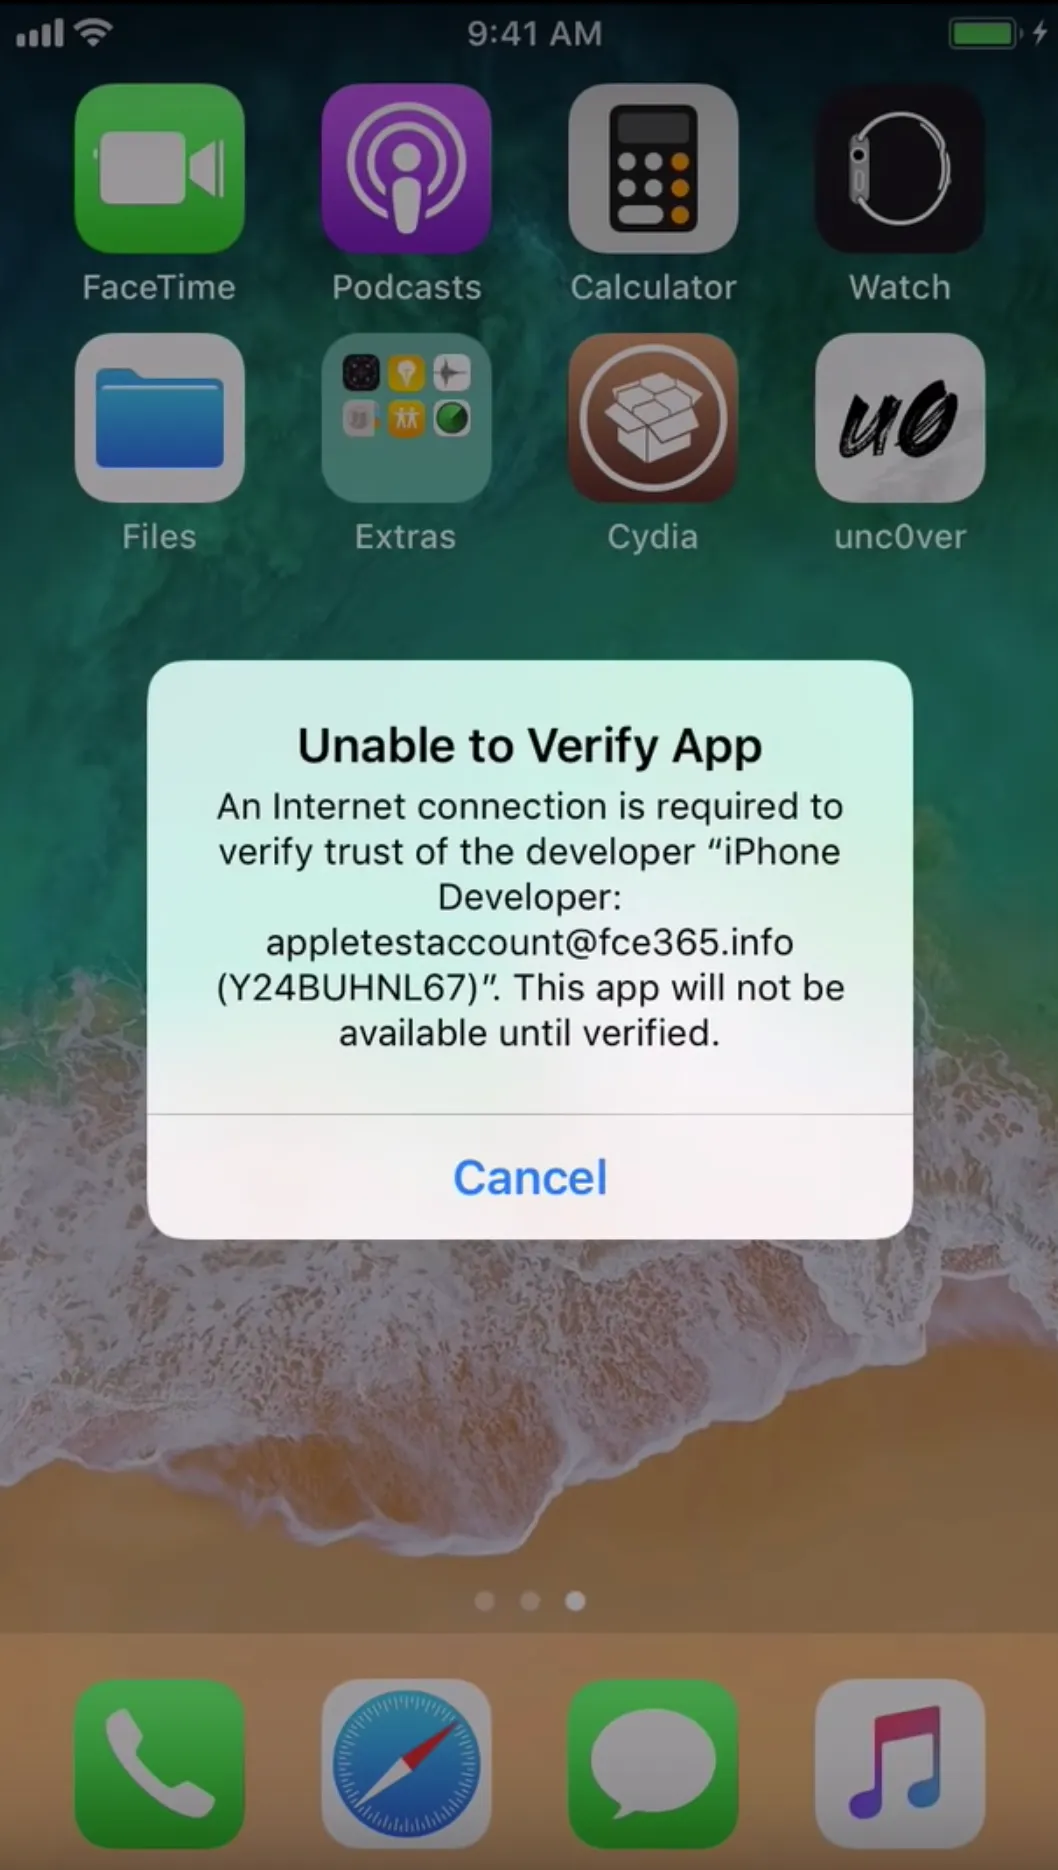
Verify the Unc0ver App
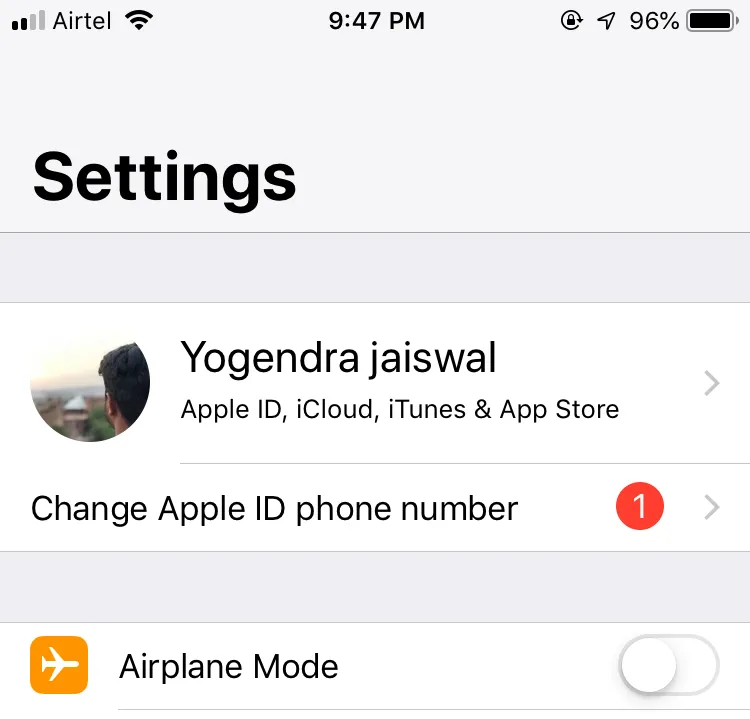
Settings → General → Profiles & Device Management → email@company.com
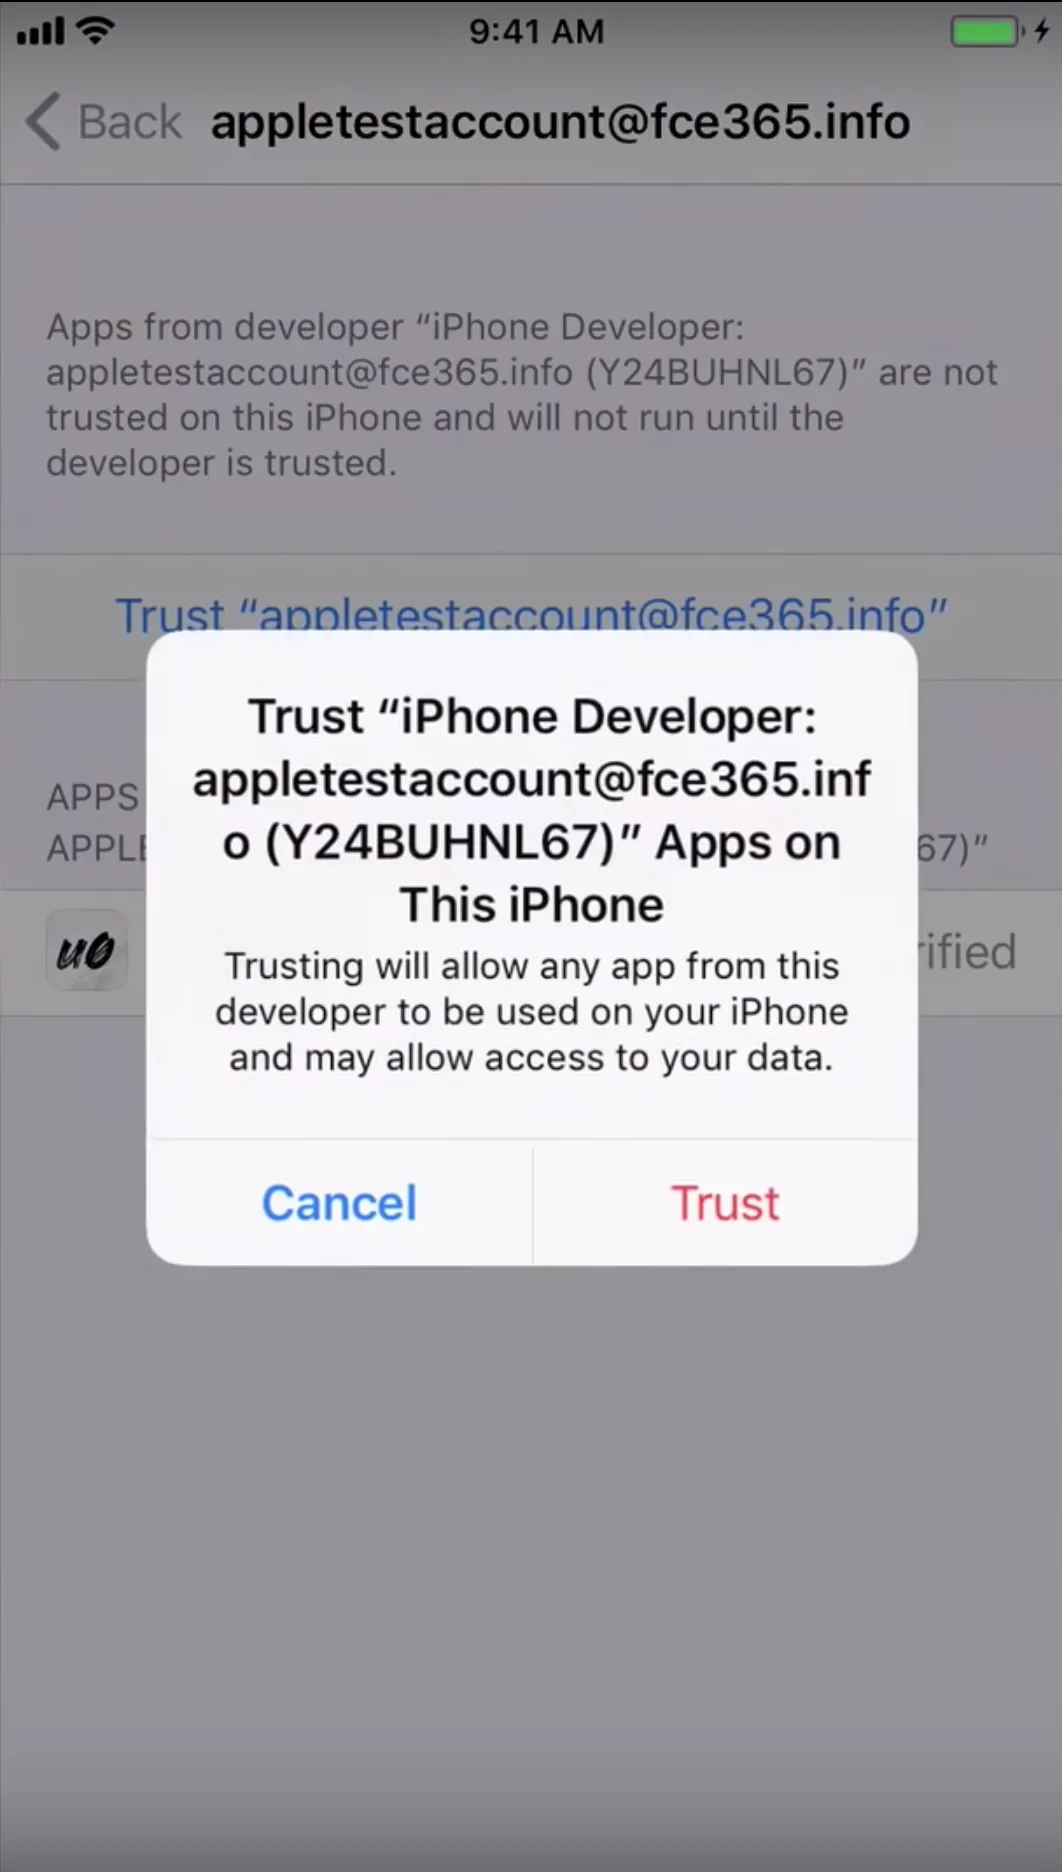
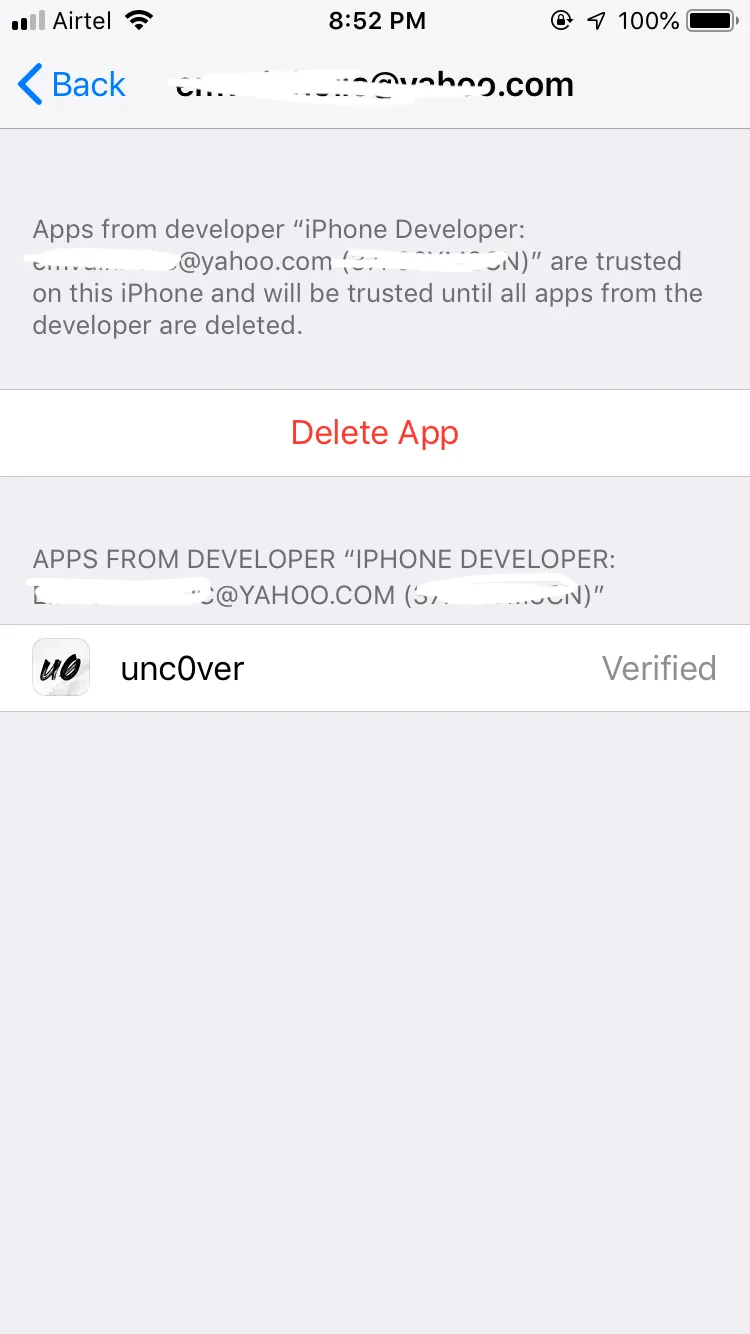
Your devices may restart multiple times so you will likely need to click on jailbreak for about 2–3 times for a complete jailbreak.
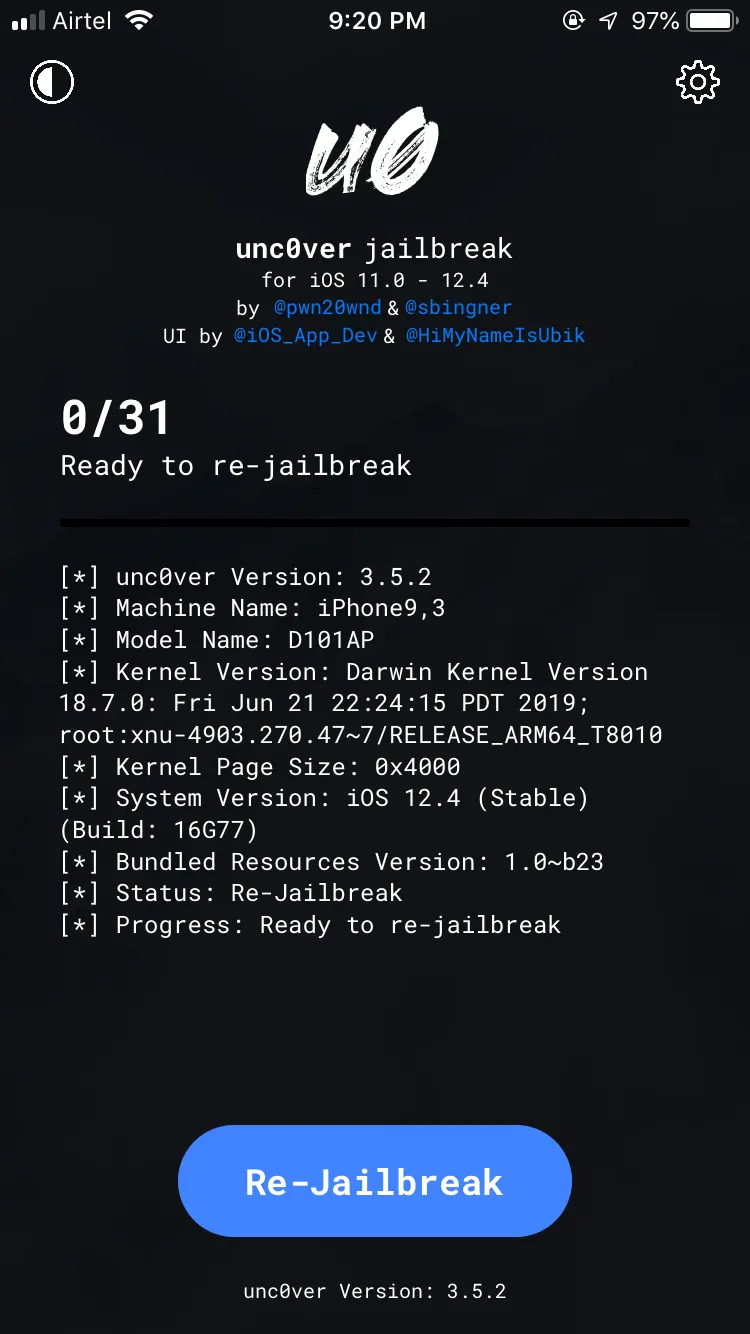
Once your device is jailbroken, you will get Cydia as you can see below.
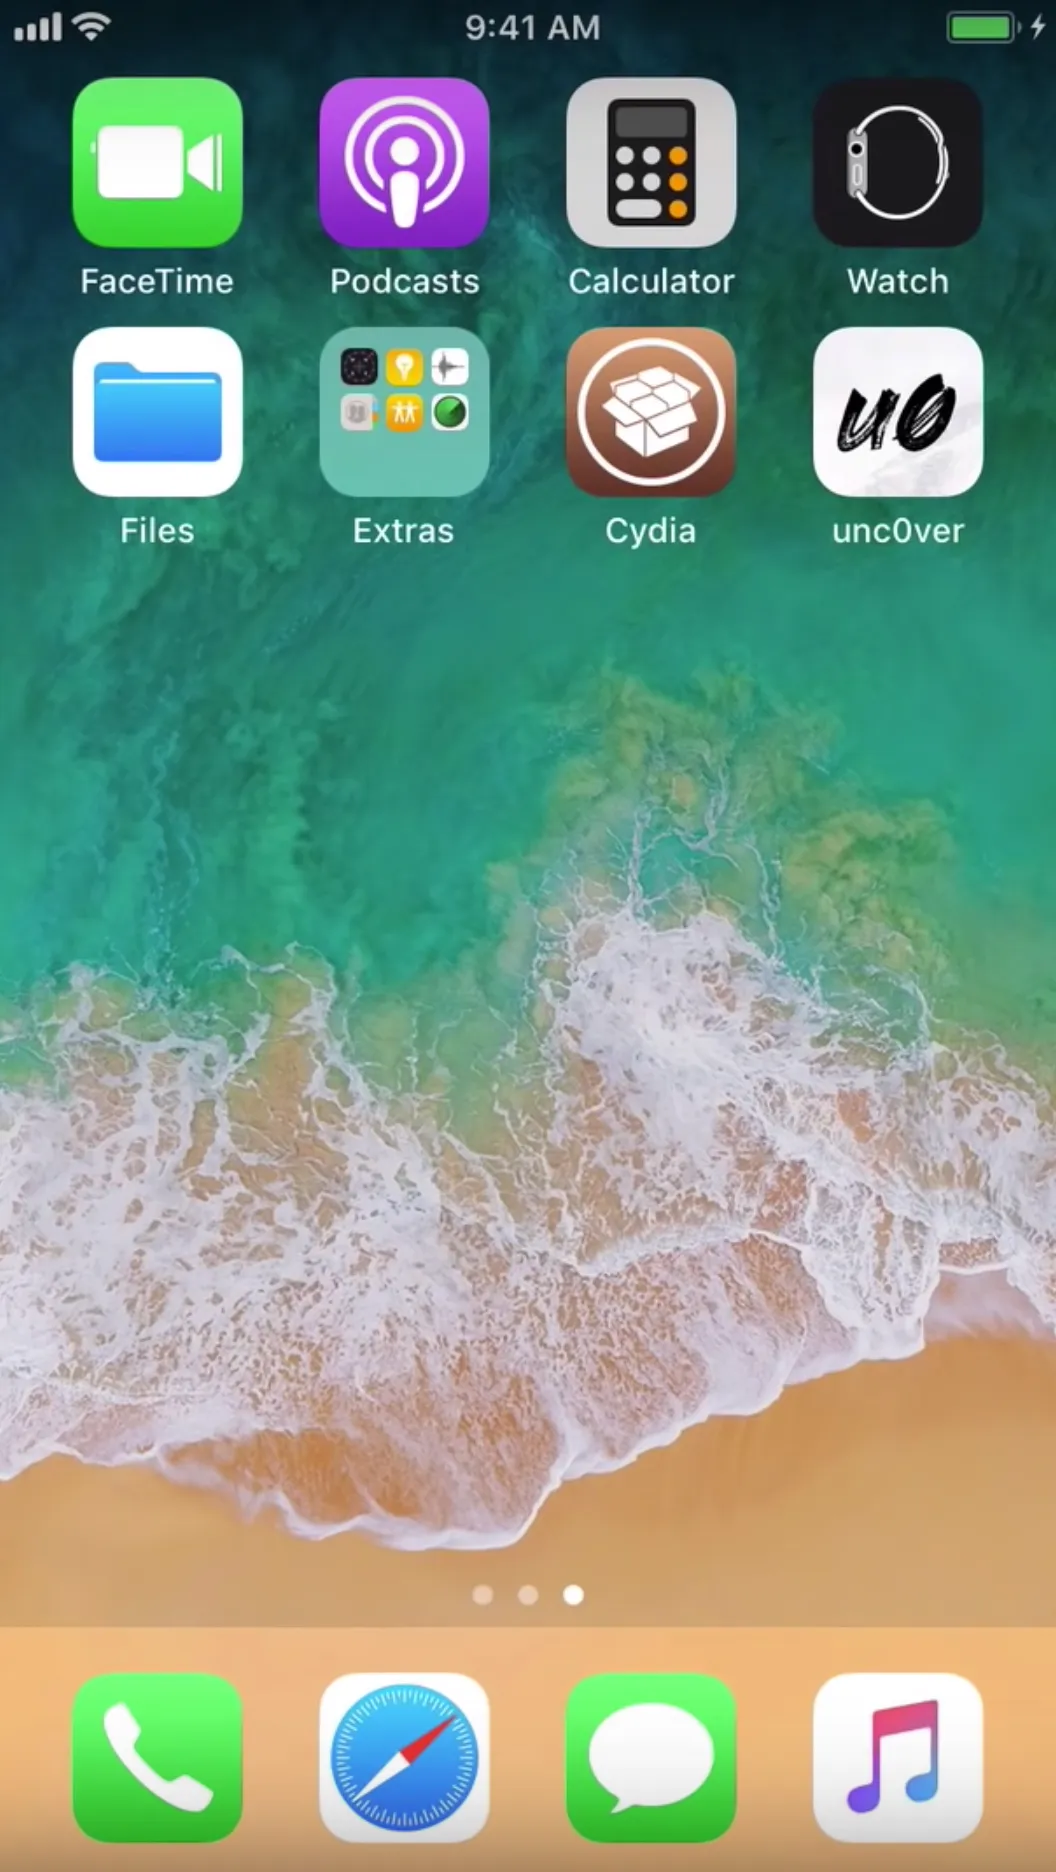

Congratulations! Your devices in now jailbroken using Unc0ver.
Burp Suite Free/Pro — Downloading and configuring
Setting Proxy lister — Proxy → Options → Proxy Listener → Add
Bind to port: 8XXX
Bind to address : All interfaces (192.168.X.X)Click “Ok”

- Note: Ip ranges may vary in your device
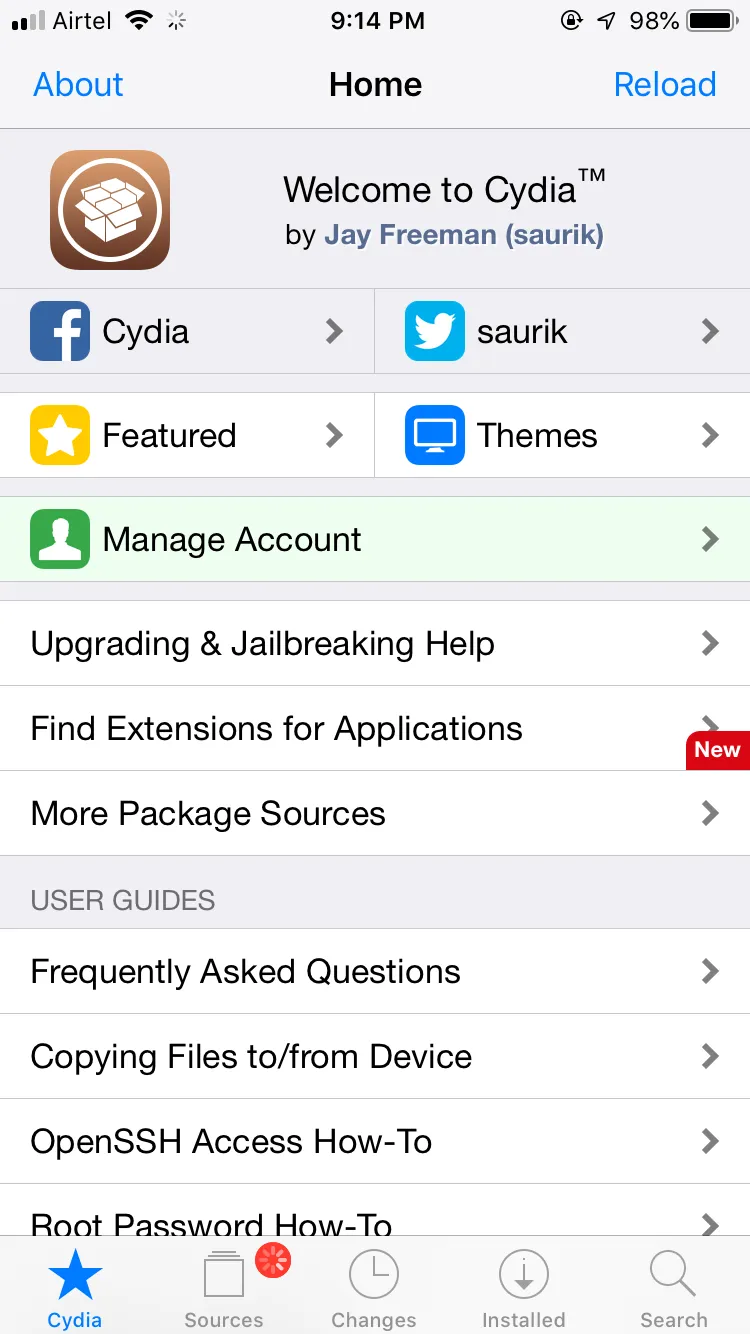
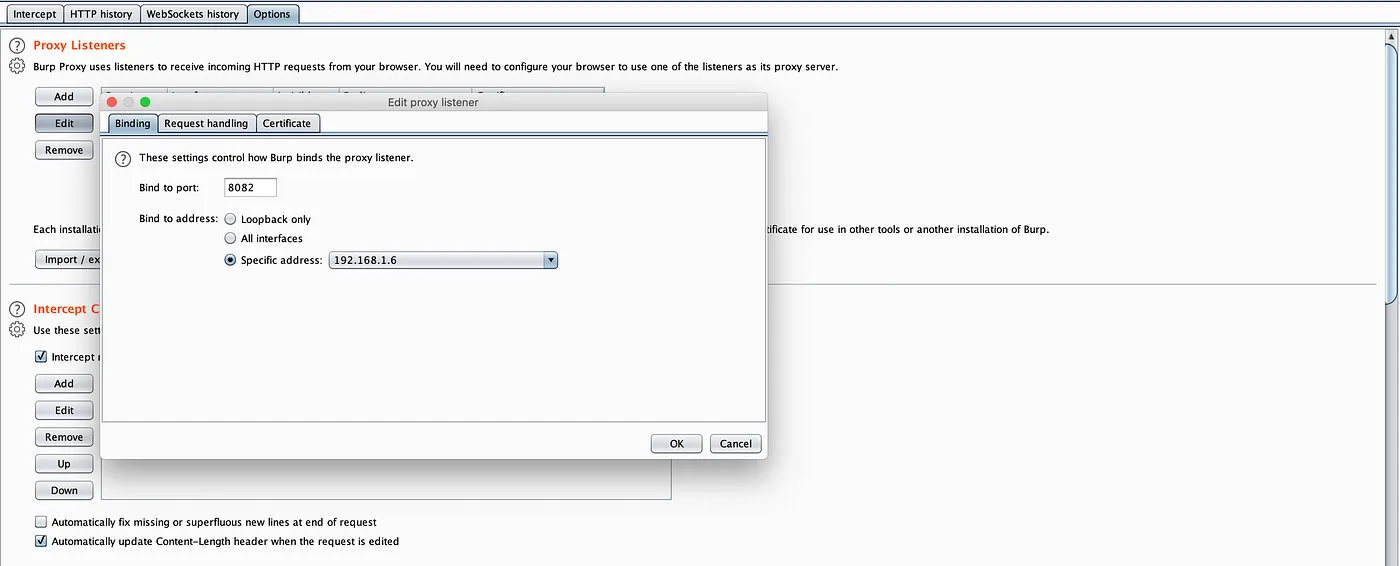
Settings → wifi → (i) from connected network → Configure Proxy → Manual
Server : 192.168.1.6
Port: 8082
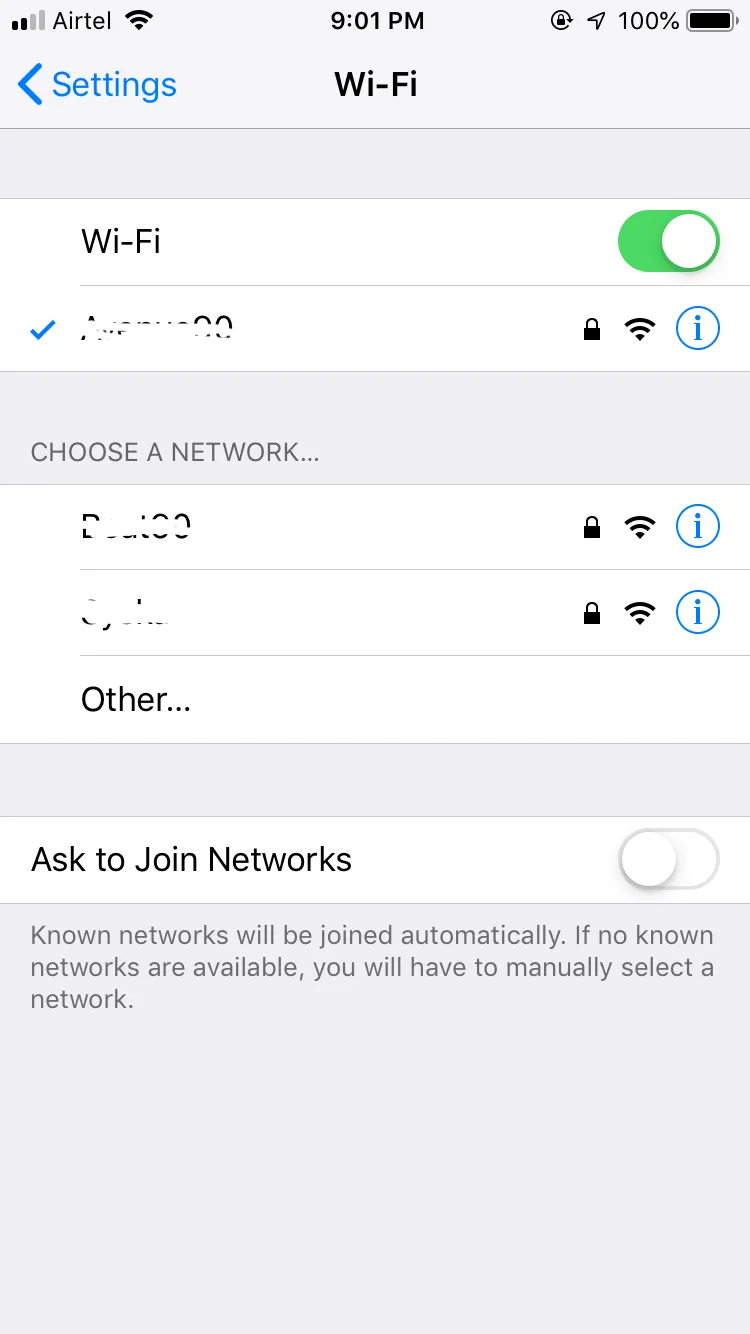
Now select Configure Proxy → Manual
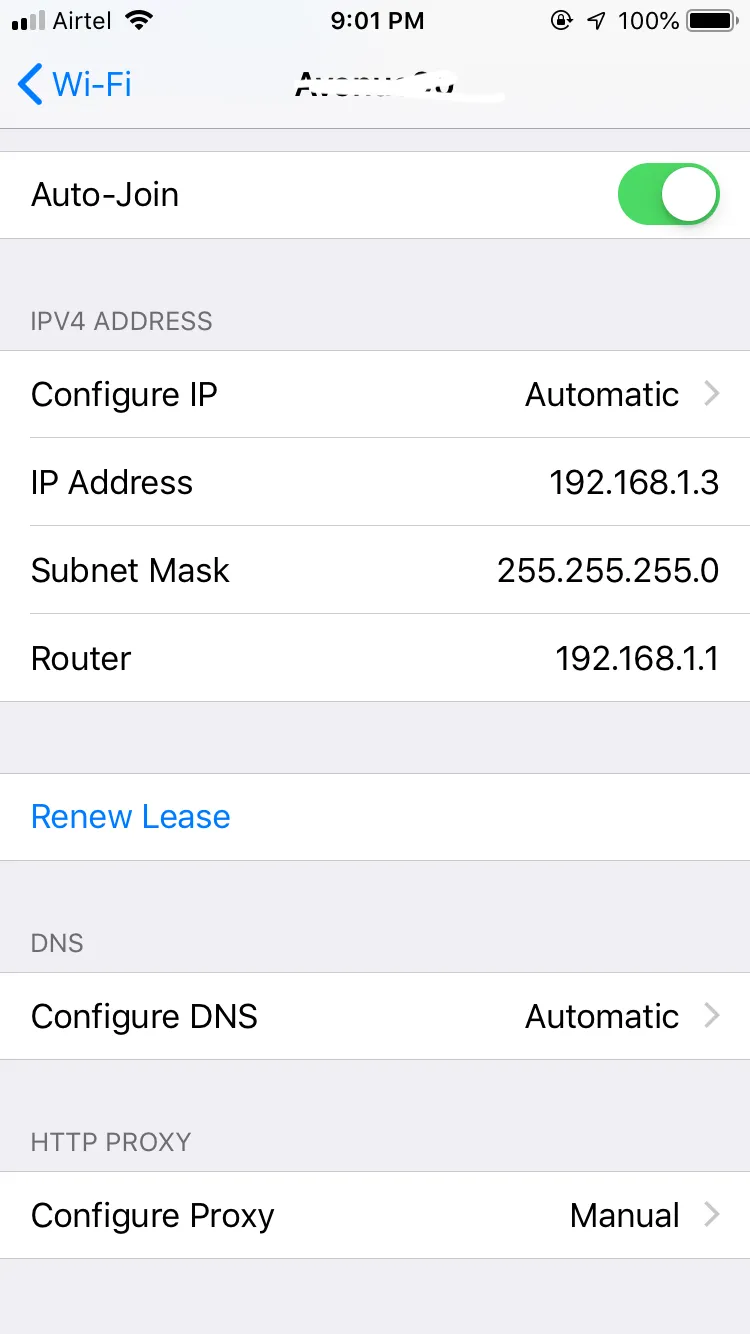
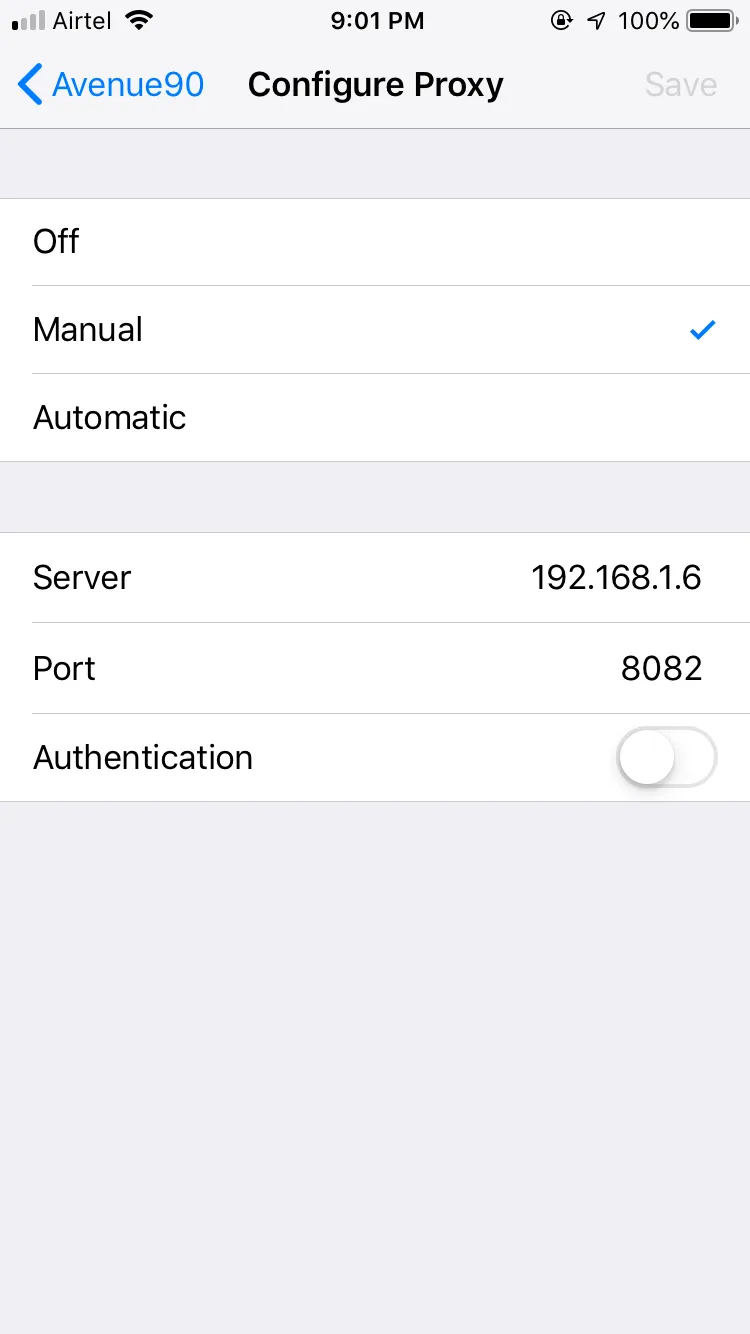
Now save the configuration then open the browser and visit http://burp in order to download the Portswigger CA Certificate and configuration.
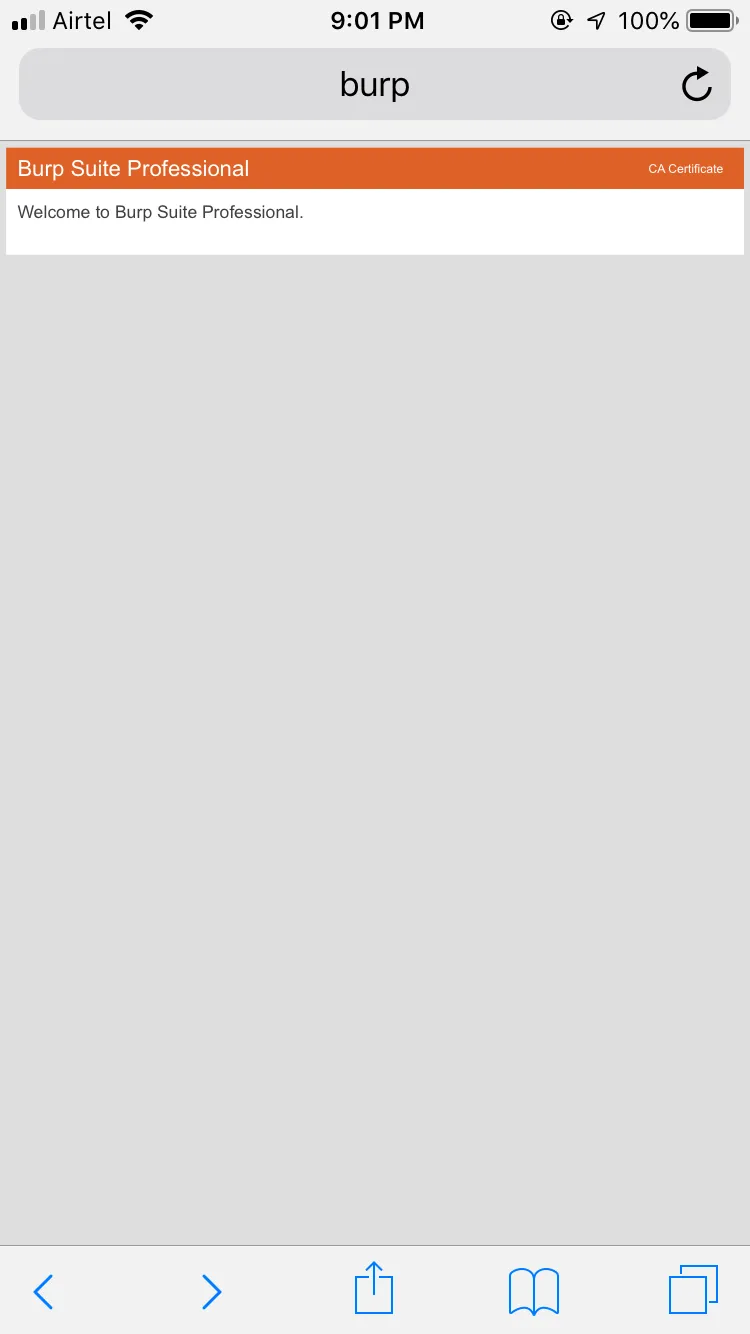
Tap on CA Certificate to download the certificate.
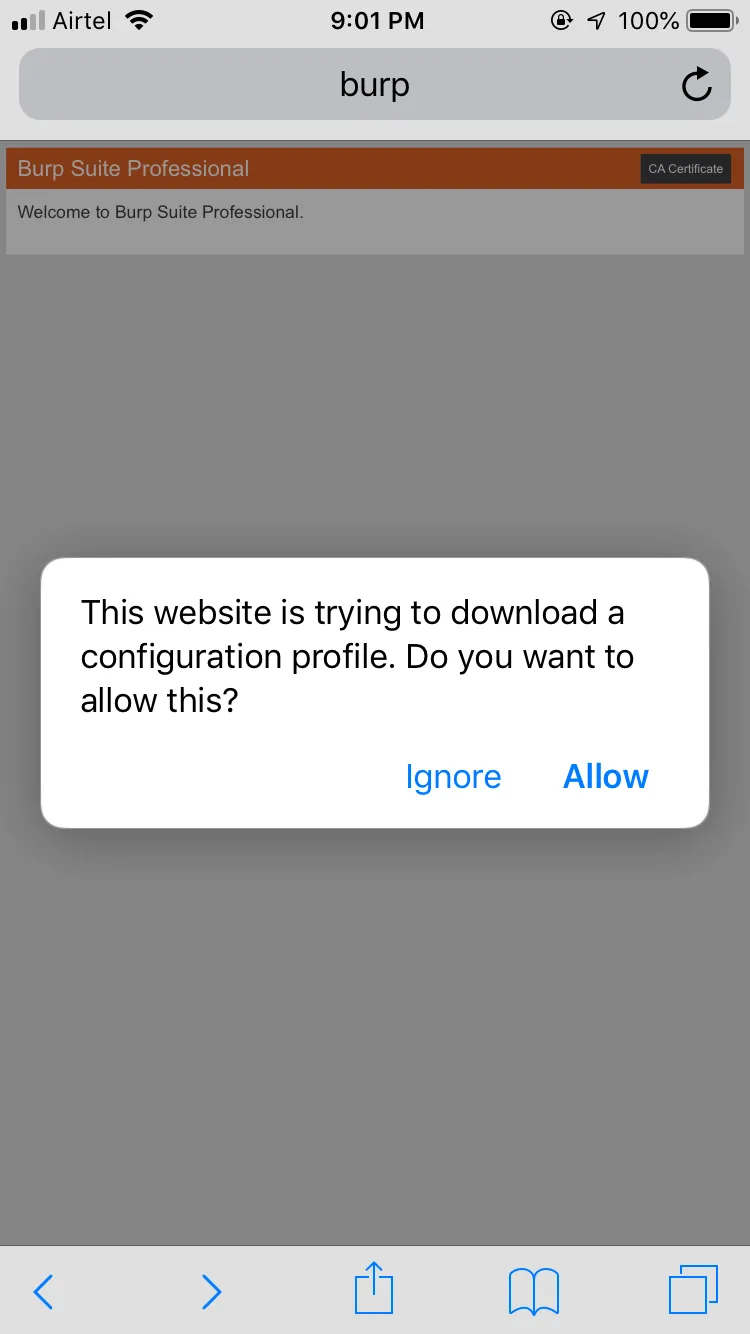
Allow downloading of the configuration file.
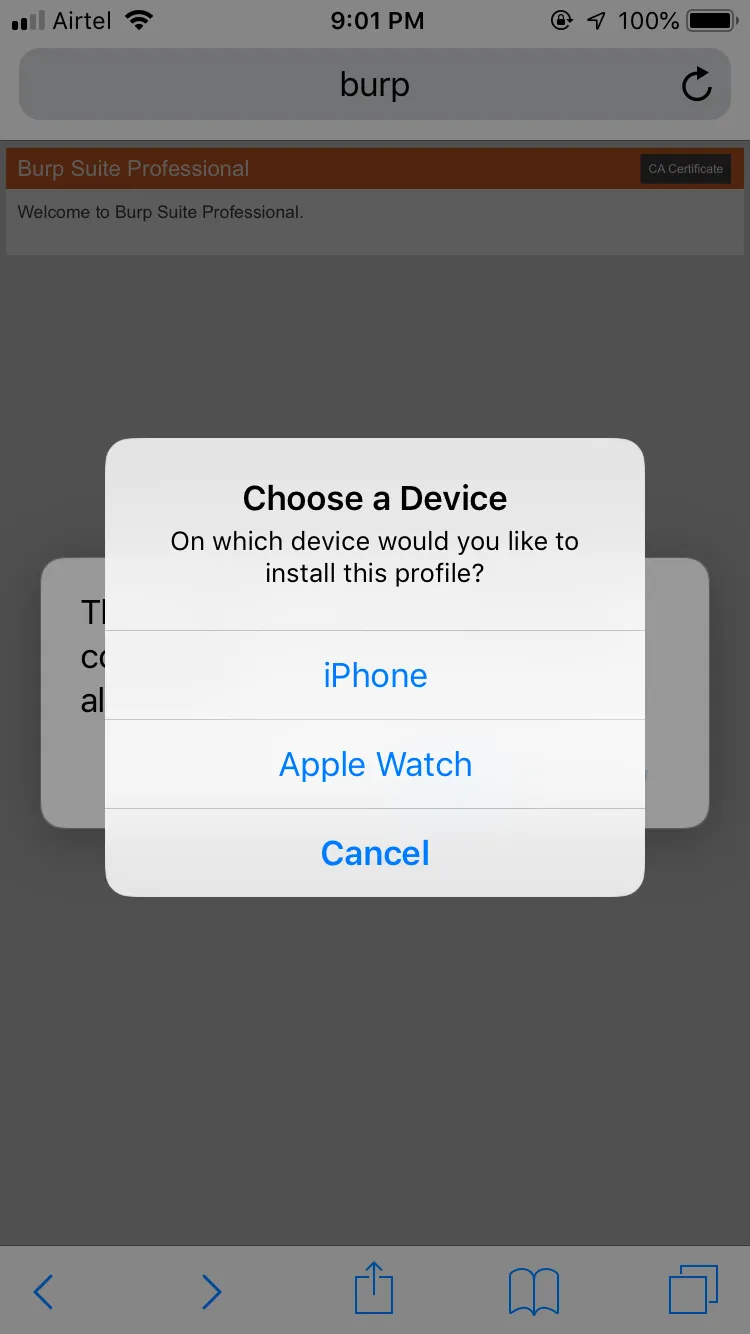
Select the device in which you wish to install the certificate.
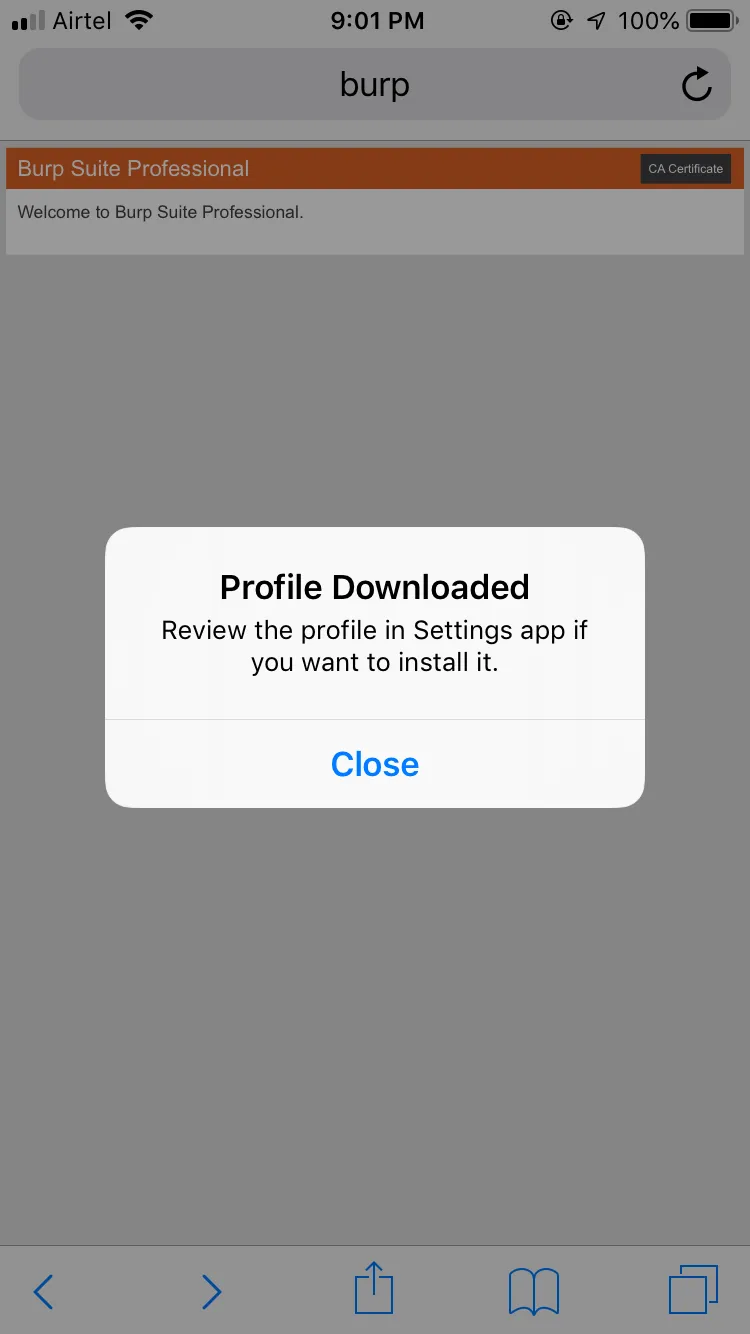
Now, on your iPhone, go to:
Settings → General → Profiles & Device Management
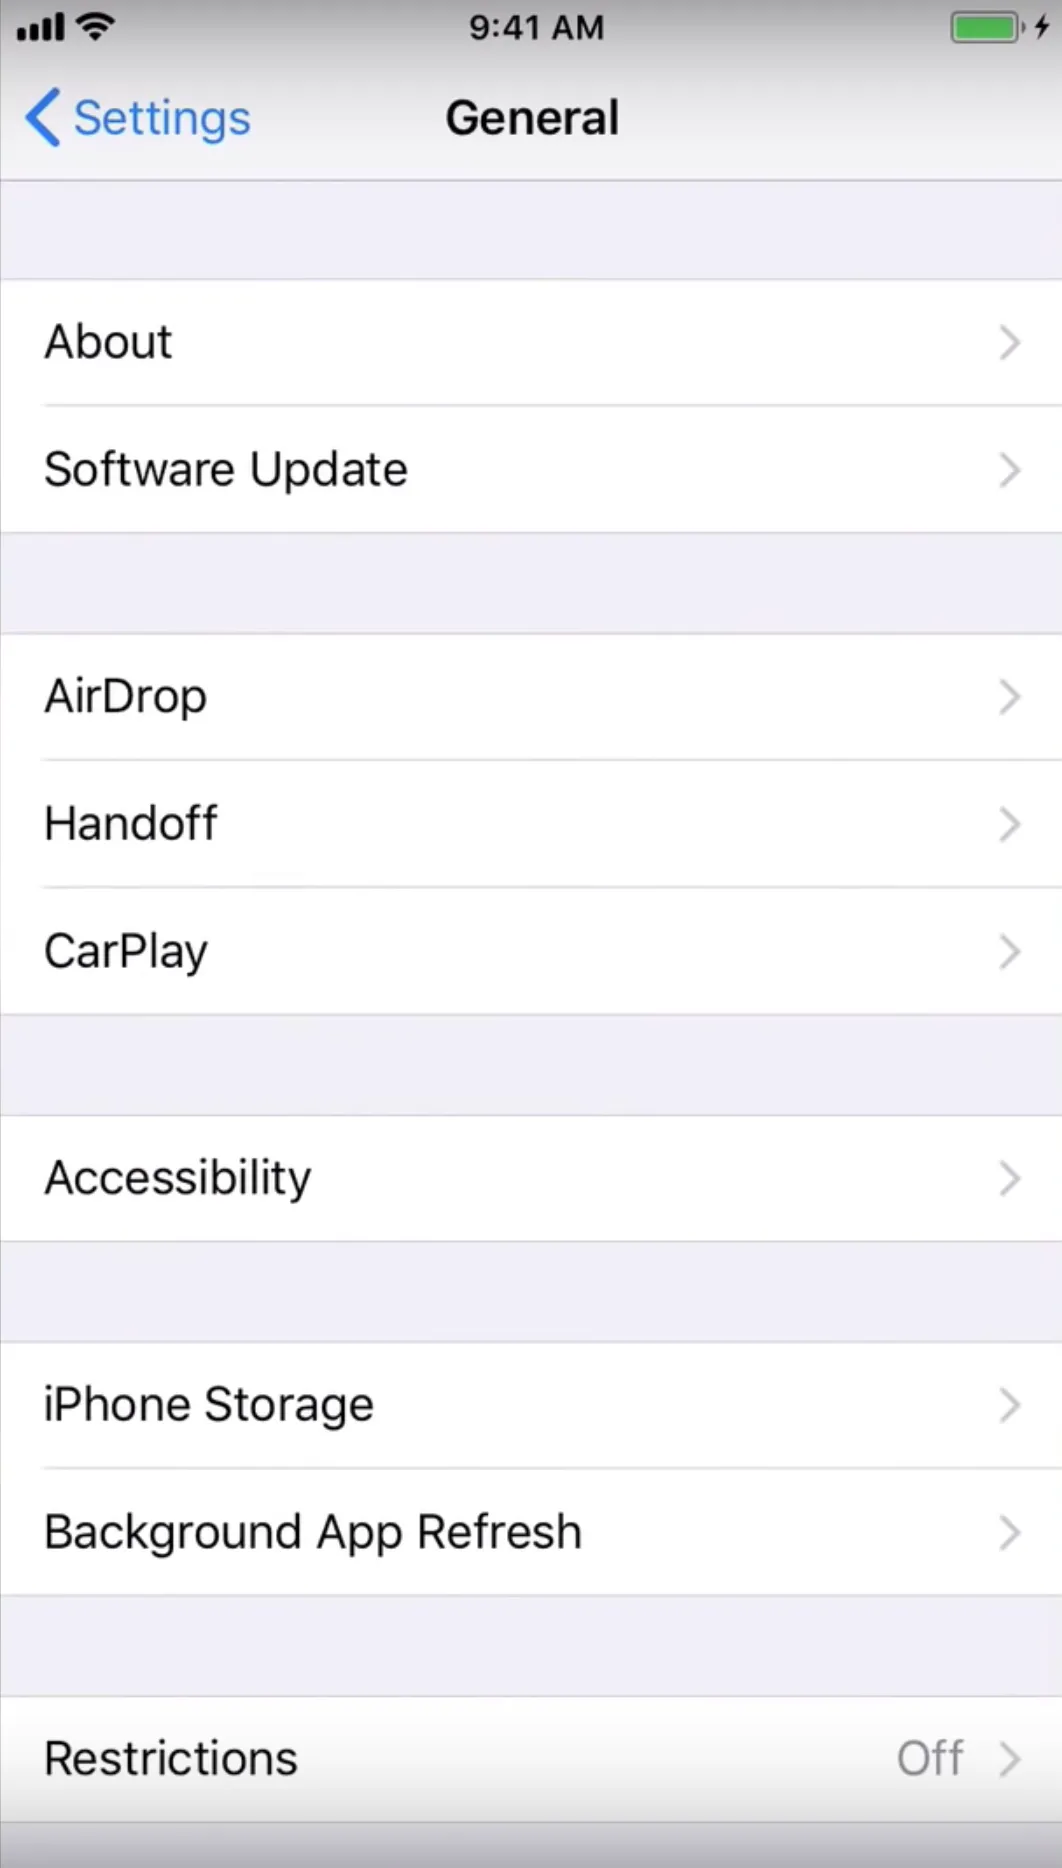
Profiles & Device Management → Portswigger CA
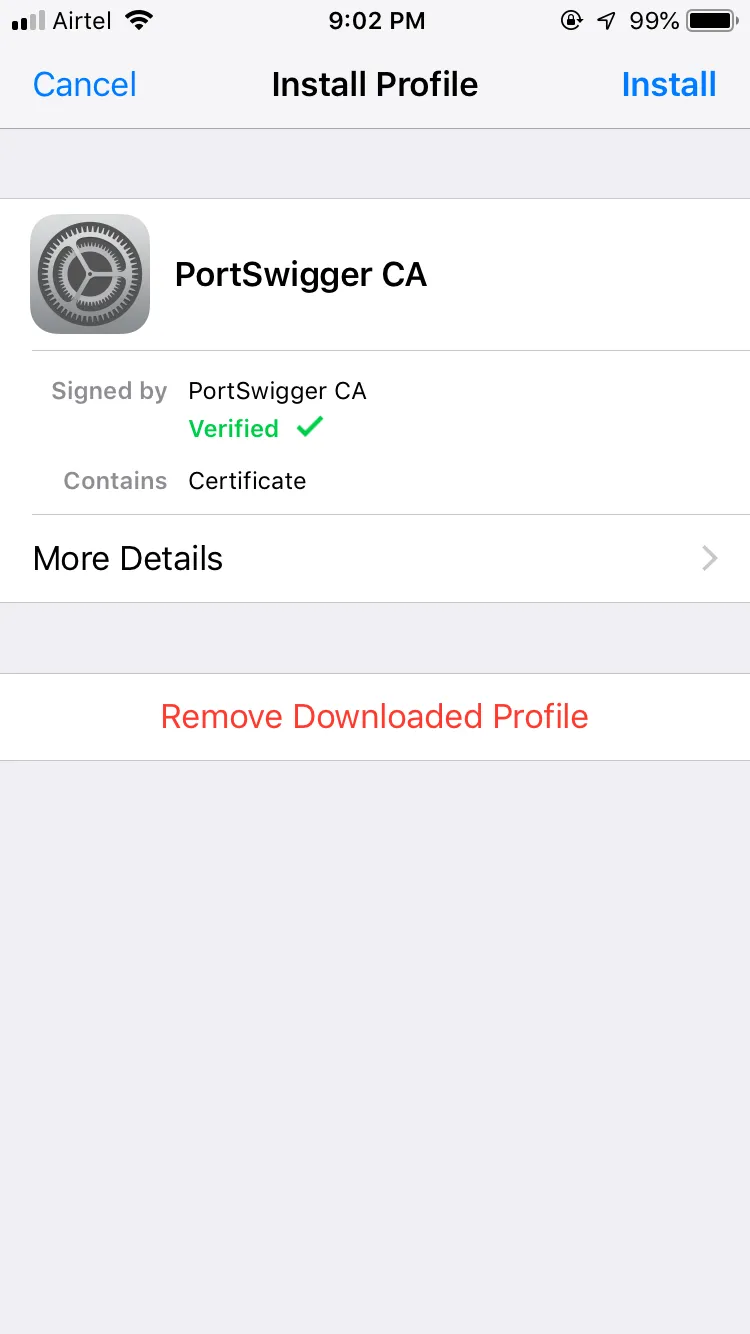
Install the Portswigger CA Certificate
SSH to the iOS device
SSH is the secure shell used to connect to different machines.
- Finding the IP address of the device.
Settings → Connected Network → Click on [i]
The IP address of the device — 192.168.2.41
- Available users on the iOS device are the following:
mobile — default password — alpine
root — default password — alpine
Connecting as mobile and getting root privileges.
ssh mobile@192.168.2.41
password=alpine // you should change it using passwd utility
OR
You can use Cyberduck on the other hand.
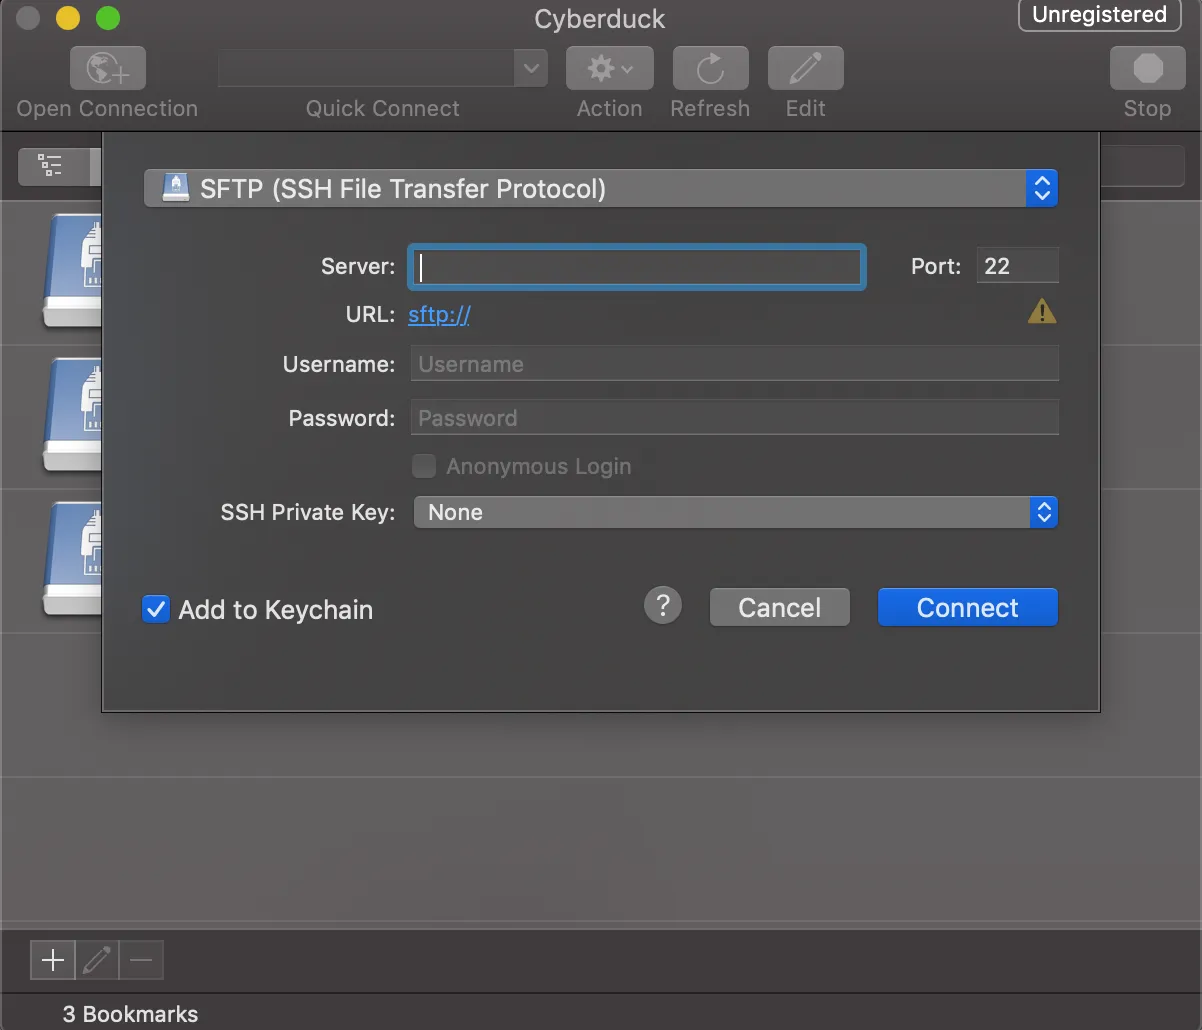
Installing SSL KILL Switch 2
We will use Blackbox tool to disable SSL certificate validation — including certificate pinning — within iOS and OS X Apps. The second iteration of
https://github.com/iSECPartners/ios-ssl-kill-switch
https://github.com/nabla-c0d3/ssl-kill-switch2
The latest version as of now is v0.13. You can download the deb file from: https://github.com/nabla-c0d3/ssl-kill-switch2/releases
or direct download the version 0.13 from:
https://github.com/nabla-c0d3/ssl-kill-switch2/releases/download/0.13/com.nablac0d3.sslkillswitch2_0.13.deb Click here to download ssl kill Switch2
Installation
The following dependencies should be installed using Cydia:
-
Debian Packager
-
Cydia Substrate
-
PreferenceLoader
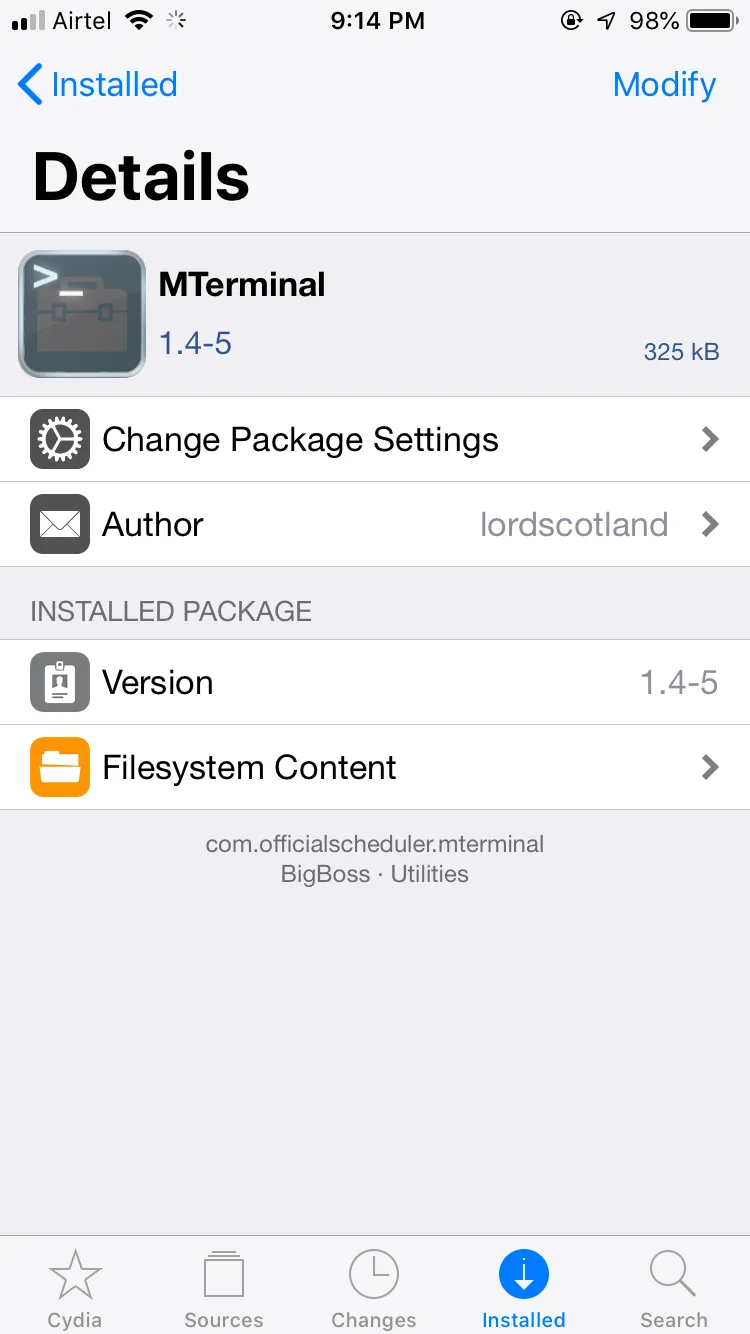
Install MTerminal form Cydia
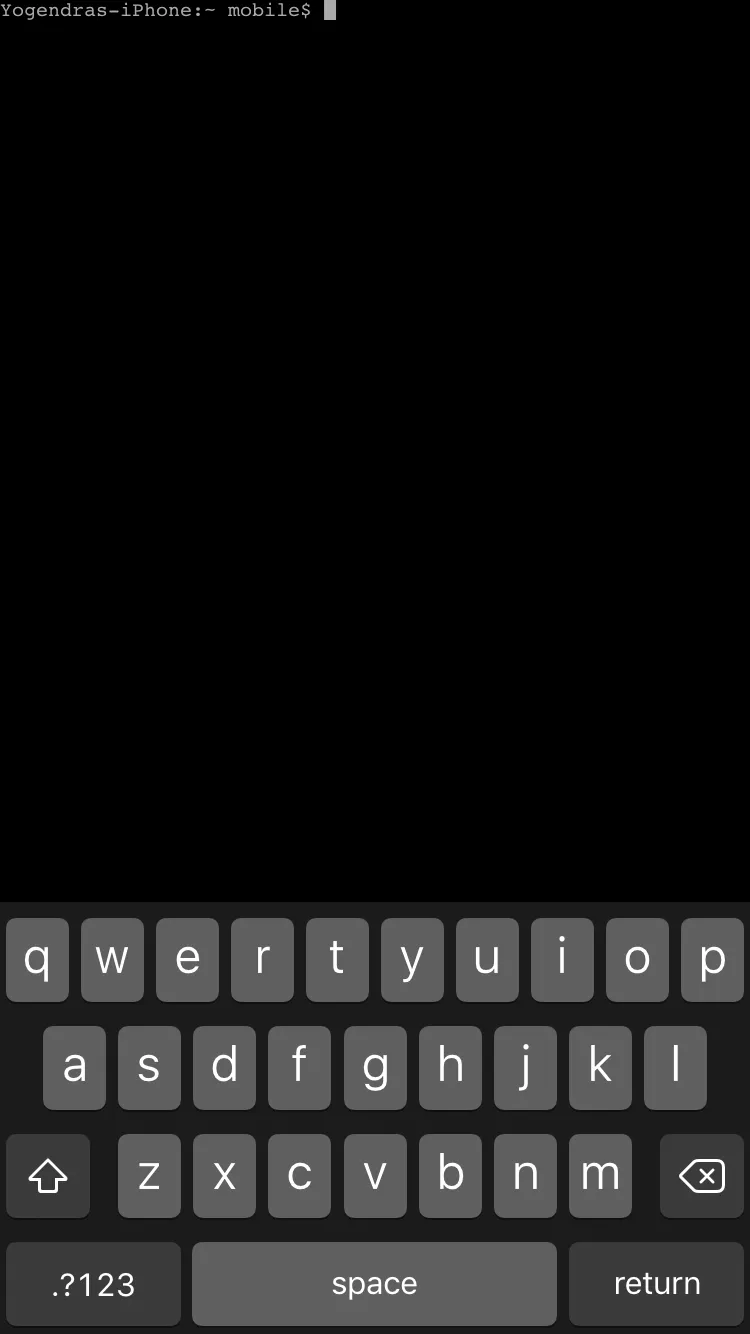
Open the MTerminal
Enter Command SU
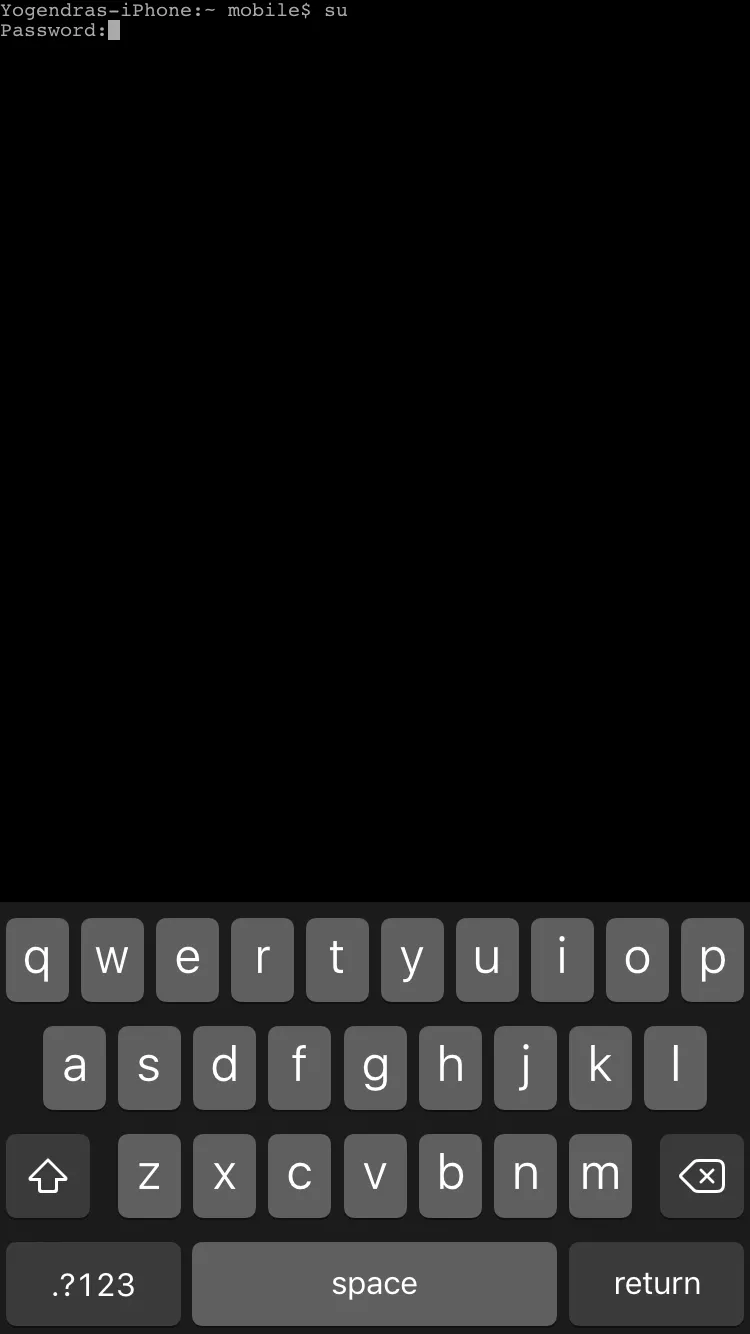
Enter Password — alpine
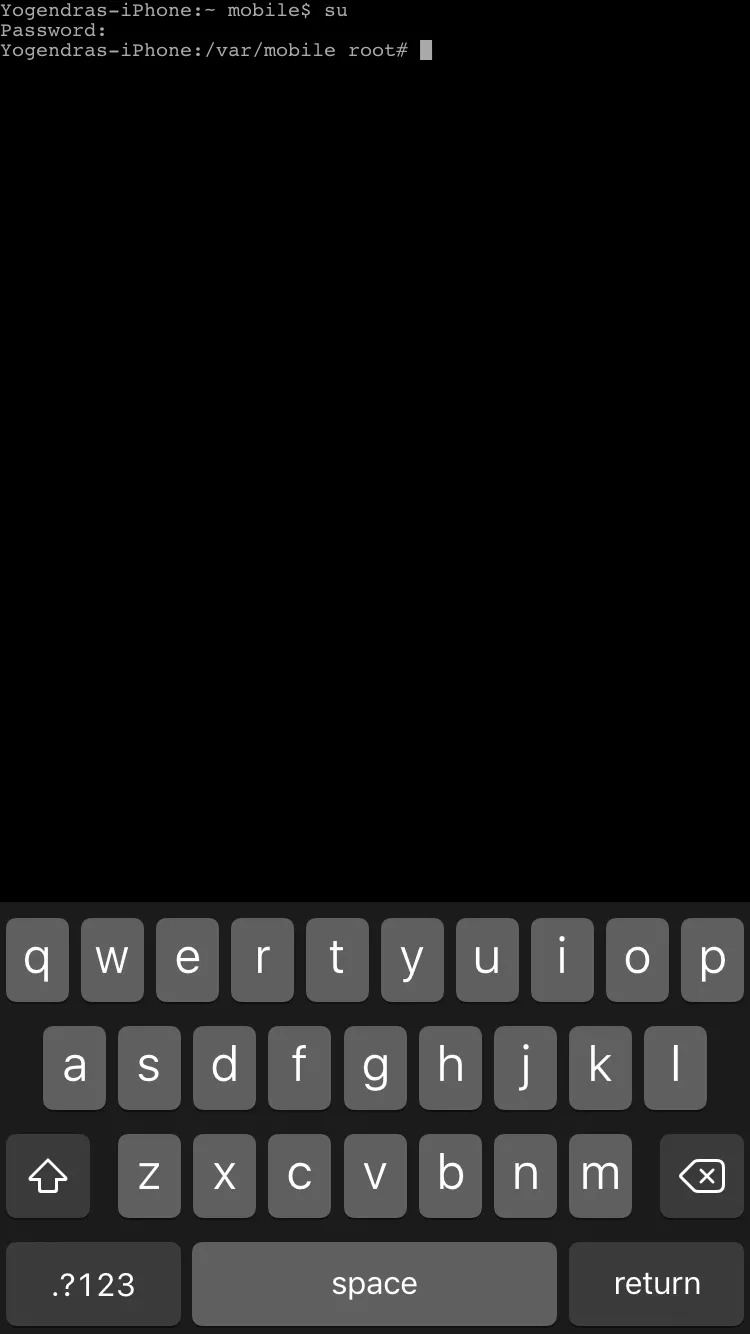
Type Command “ls” to view the files
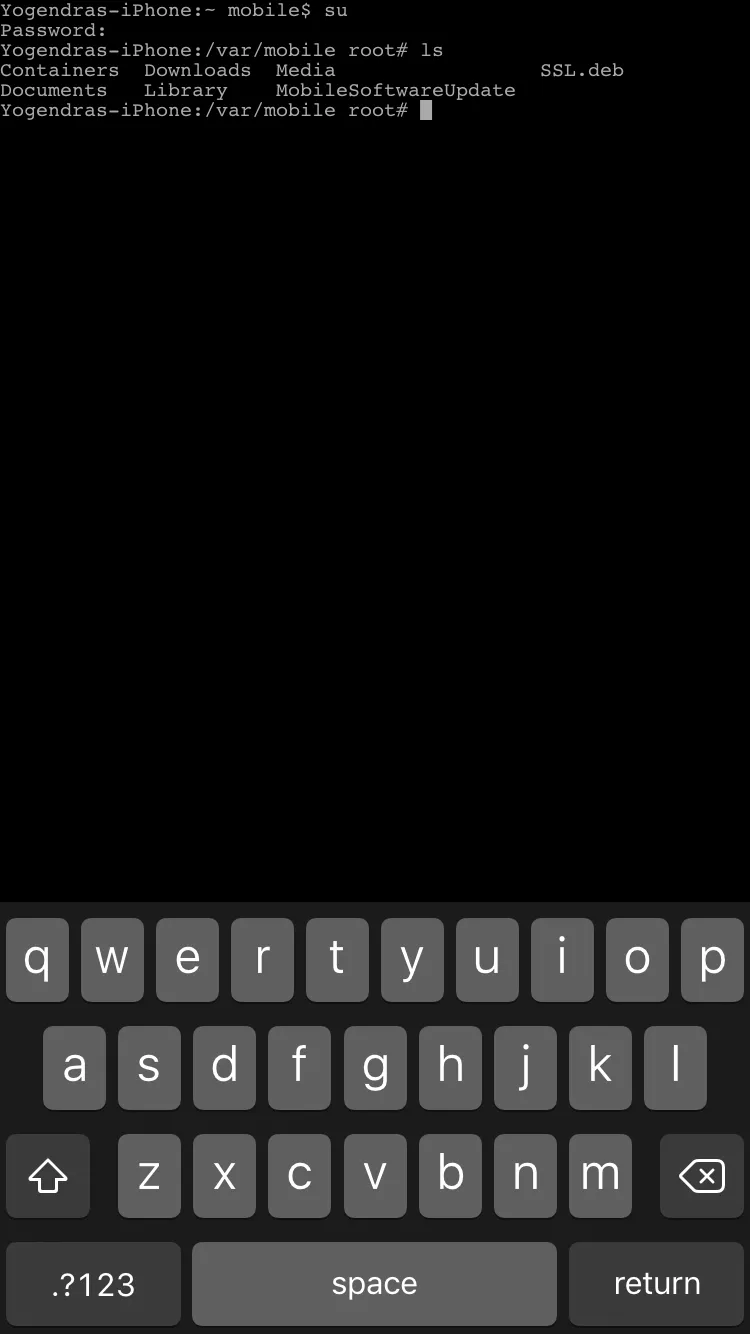
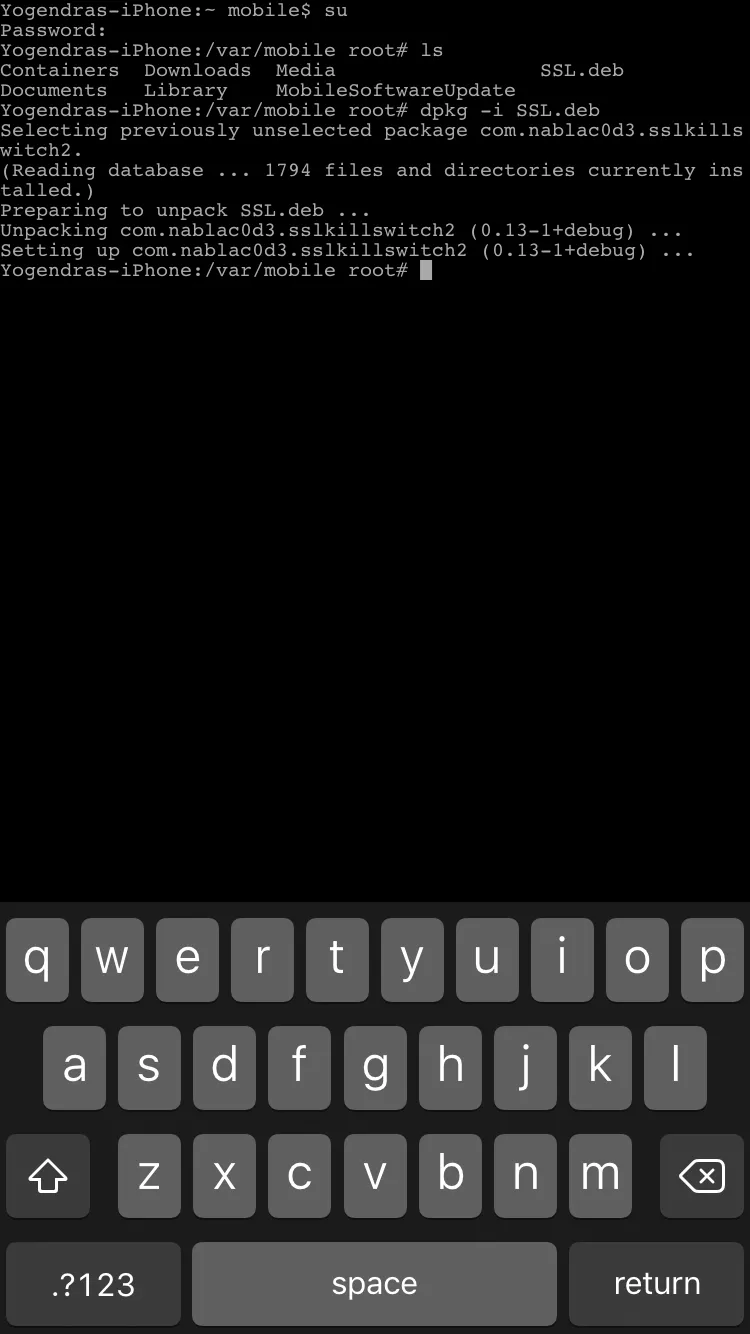
Type command
dpkg -i <package_name>.deb
This will install the package ssl.deb
Goto Settings → Look for “SSL kill switch 2”
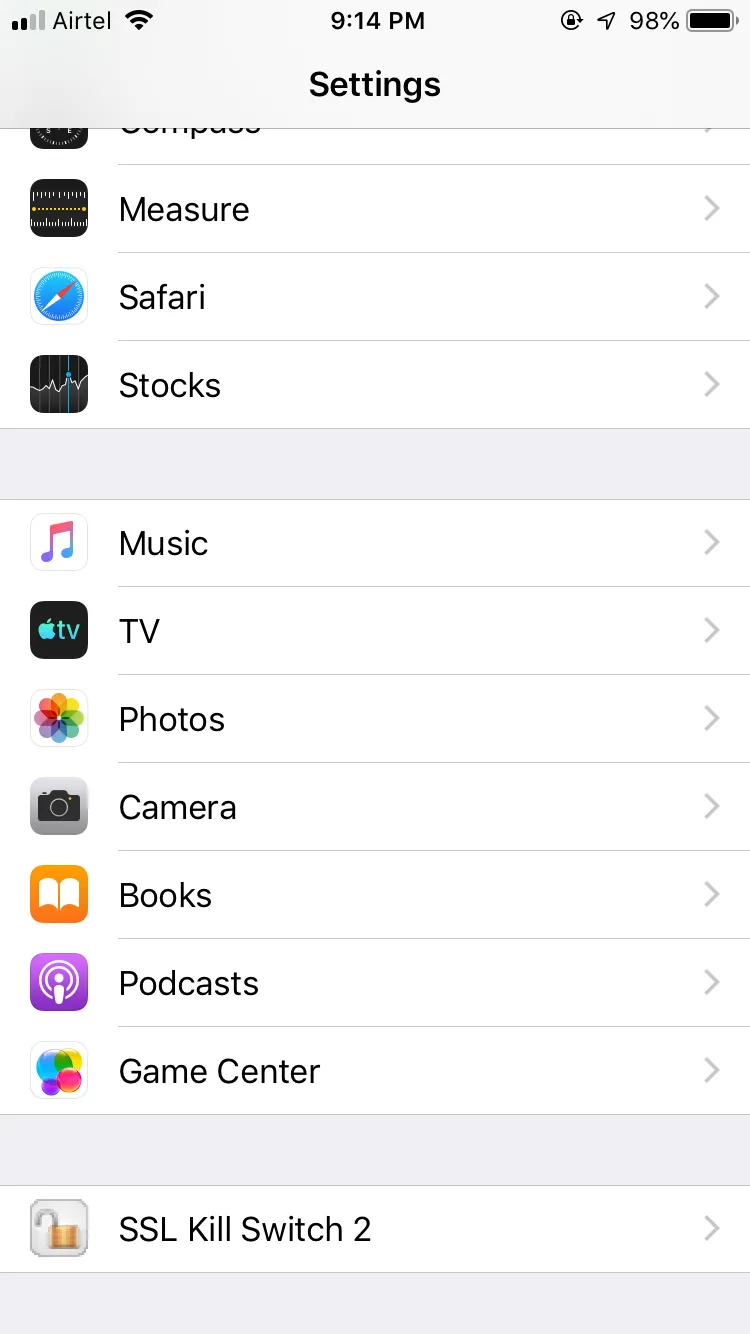
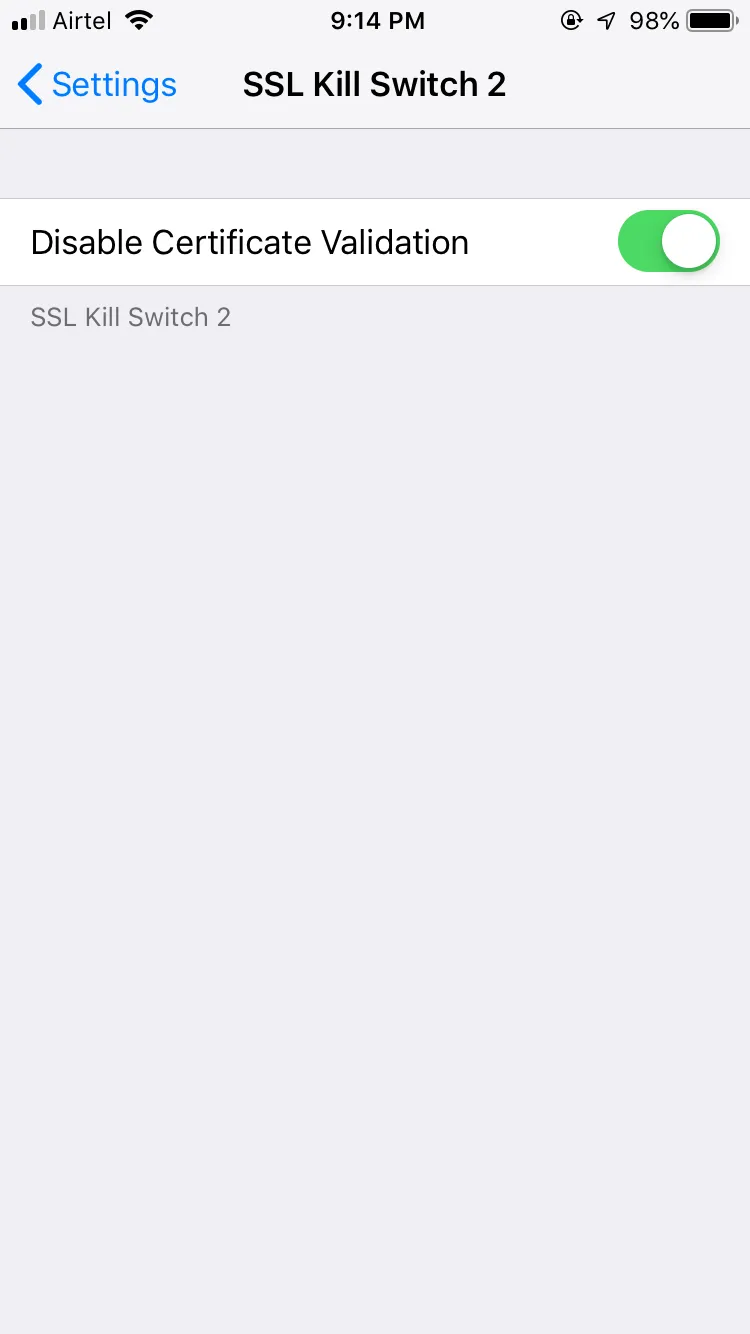
Now you can intercept the traffic of any iOS application.
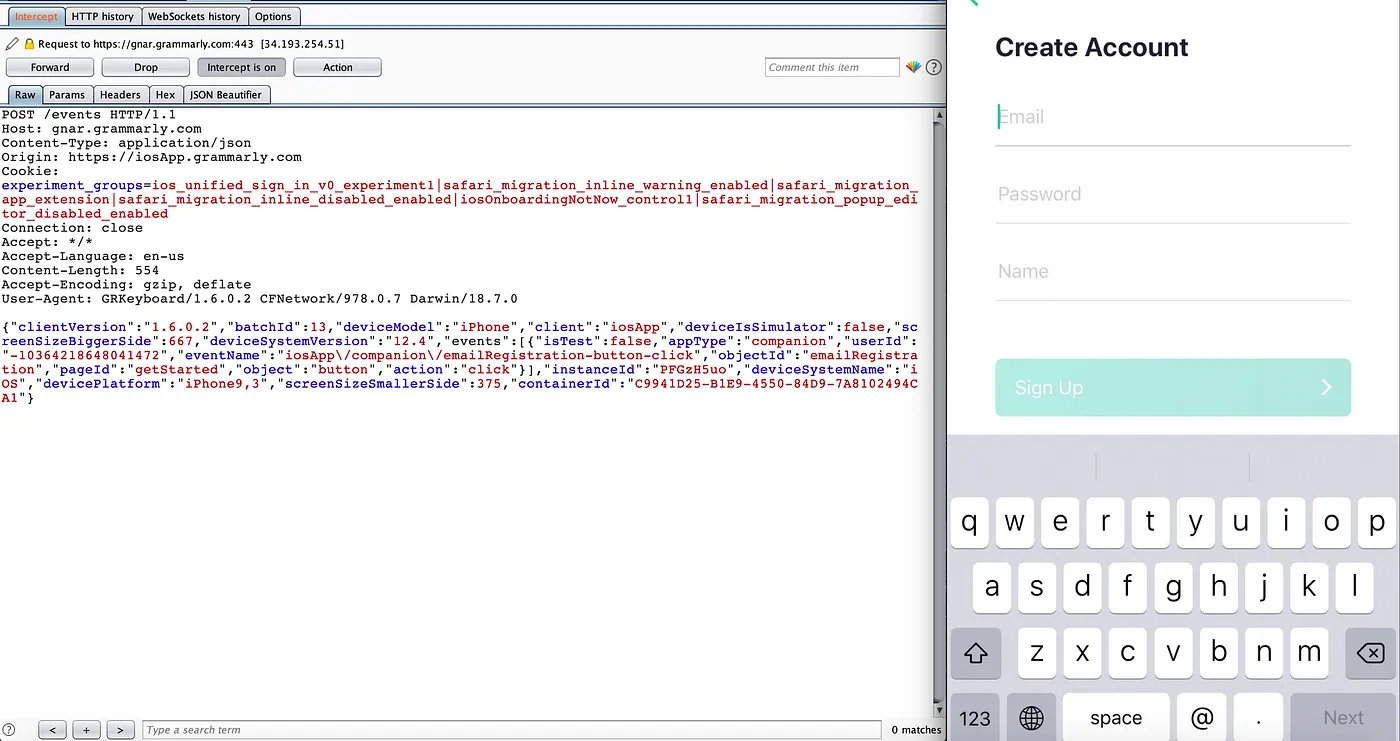
If you have any query or question just DM on Twitter https://twitter.com/vulnh0lic, I will be happy to assist.
Until next time!
date: 2019-08-24T10:26:40+10:00

